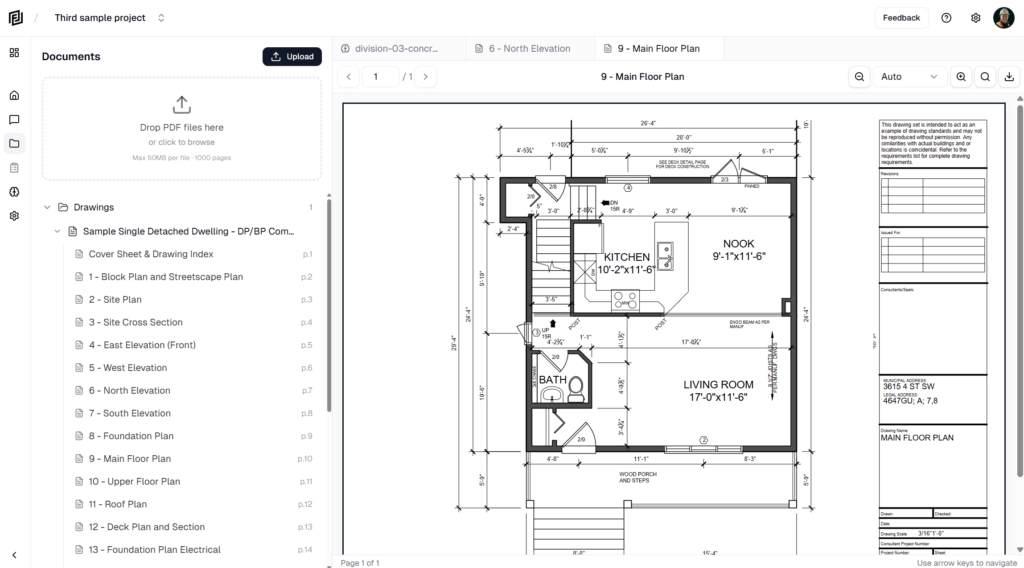
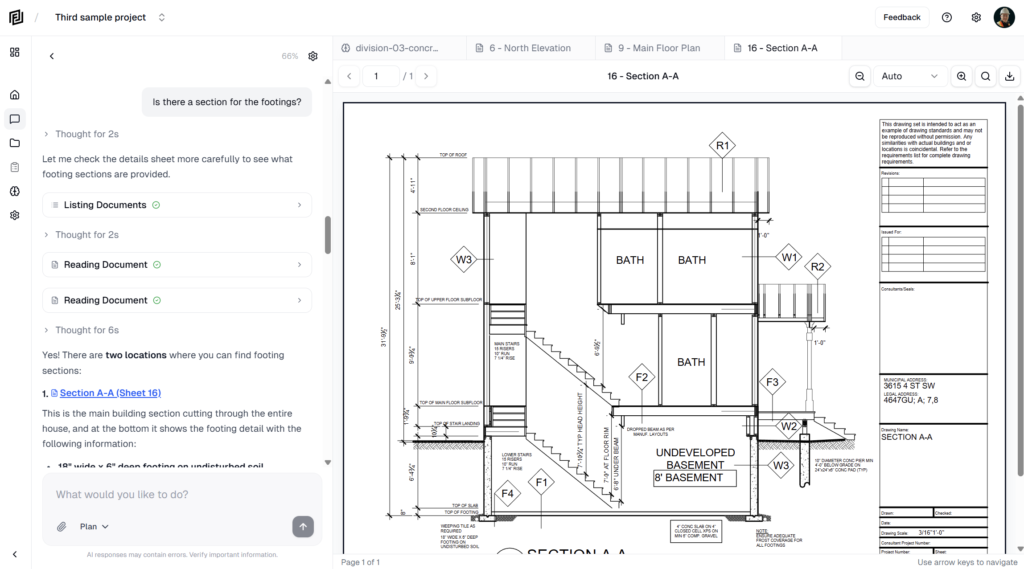
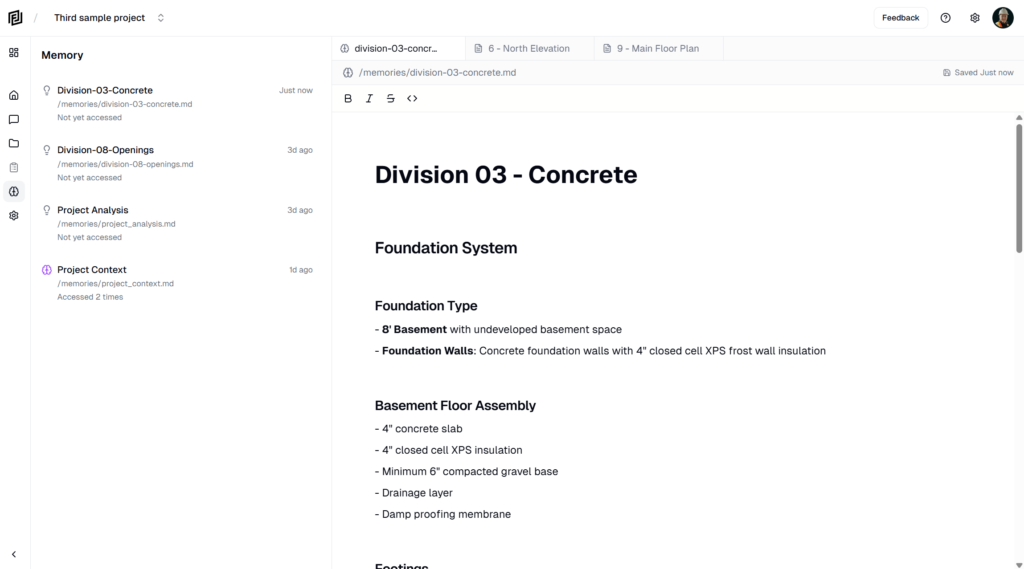
Make one project per job. Each project keeps its own drawings, pages, chats and members, so the agent only works from that job’s documents.
Create a project
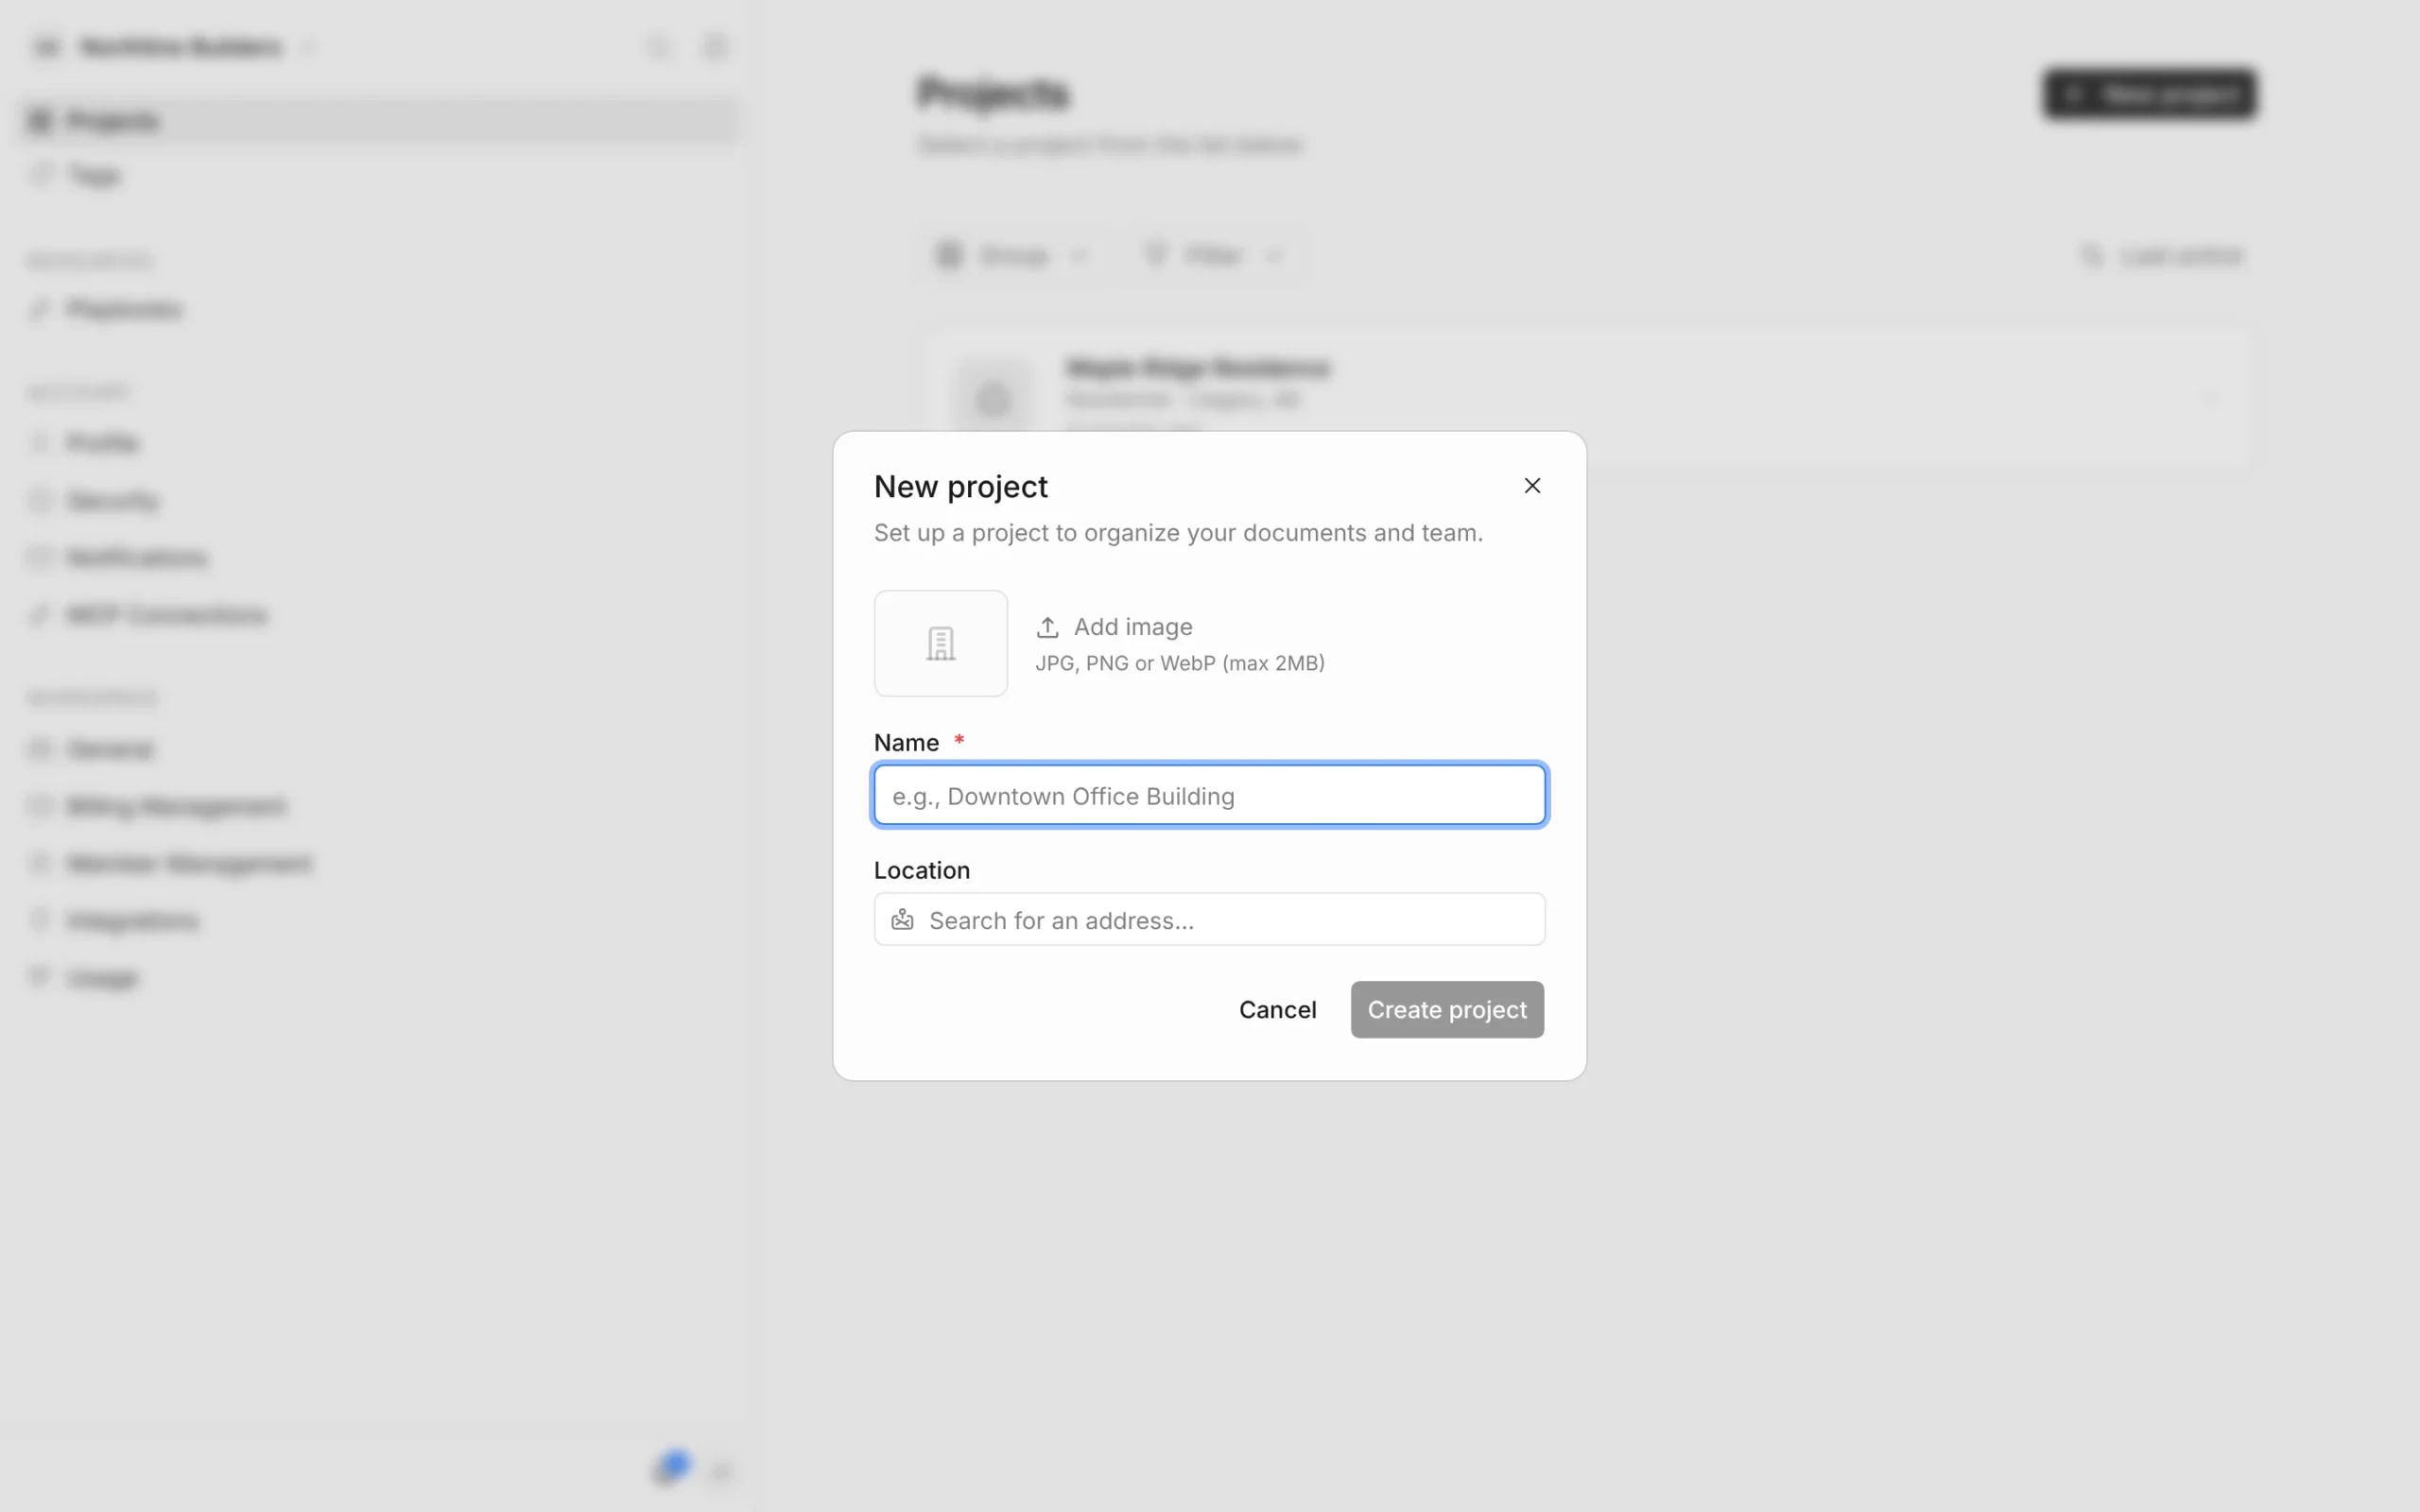
- On the Projects page, click New project. (Inside a project, click the project name in the top-left corner, then New Project.)
- Enter a Name — for example “Maple Ridge Residence”. This is the only required field.
- Optionally, start typing the site address under Location and pick it from the suggestions.
- Optionally, click Add image to give the project a photo (JPG, PNG or WebP, up to 2 MB).
- Click Create project.
The new project opens straight away with a short checklist: add your documents, then give the agent its first job. See Quick Start Guide.
Who can see it
- You’re the project’s Owner.
- New projects are open to your workspace, so your workspace members get access automatically. To make it invite-only, turn off Open to workspace in Settings → Members. See Members, Roles & Sharing.
Add more details later
You can change the name and photo, and add a description, asset class, website, full address, dates and project value at any time from the project’s Settings. See Project Settings and Project Details.
If you’ve reached your project limit
Each plan allows a set number of active projects. When you reach it, the New project dialog shows a notice instead of letting you create one:
- On the free Hobby plan, click Start Free Trial to try a paid plan.
- On a paid plan, click Upgrade Plan, or archive a project you no longer need — archived projects don’t count toward the limit.
Plan limits are listed on the pricing page.