Markups let you comment on a drawing the way you would with a red pen: cloud a change, point at a detail, add a note or stamp a sheet REVIEWED. They’re saved with the drawing and can be included when you download it.
Place a markup
- Open a drawing from the Files panel.
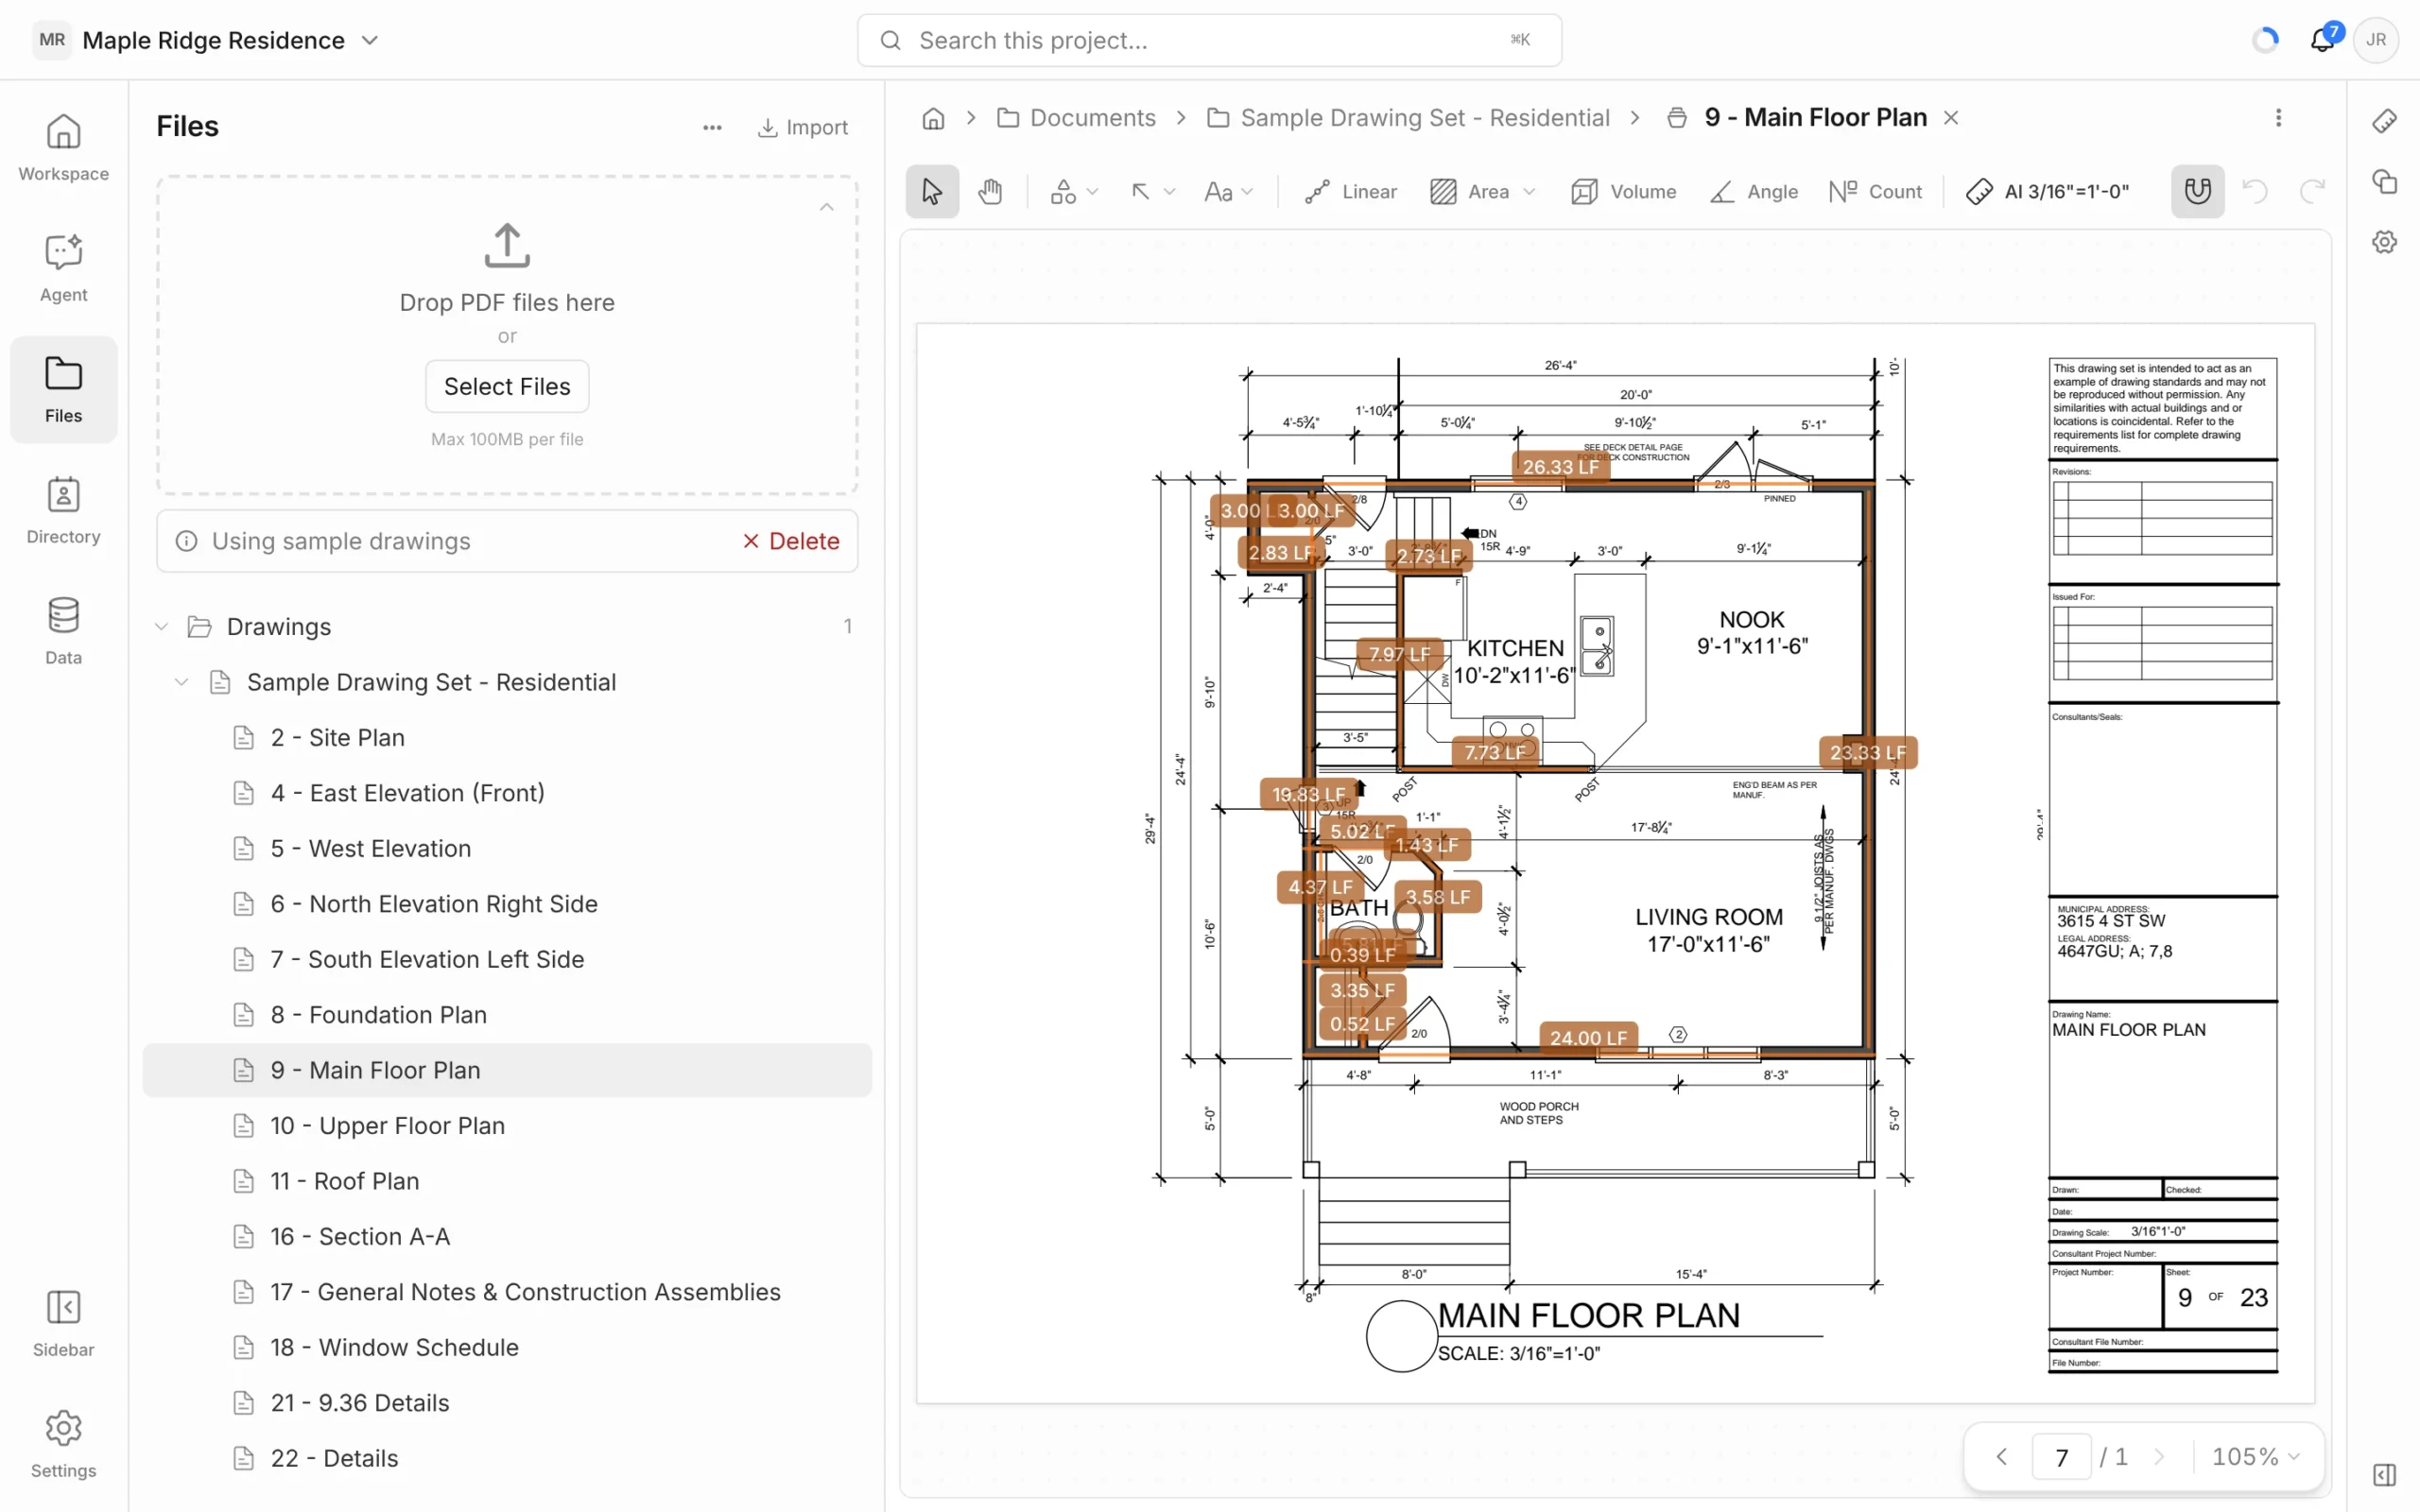
- In the toolbar, open one of the three markup menus and pick a tool:
- Shapes — Rectangle, Ellipse, Cloud, Freehand
- Arrow — Arrow, Line, Callout
- Annotate — Text, Highlight, Stamp
- The first time, Framework asks you to Create Markup Group. Give it a Group Name (for example Punchlist) and click Create Group.
- Click and drag on the drawing to place the markup. Click the same tool again, or press V, to go back to selecting.
Add a stamp
- Choose Annotate → Stamp. The Stamps picker opens.
- Pick a stamp, then click on the drawing to place it.
Built-in stamps: APPROVED, APPROVED AS NOTED, REVIEWED, REVISE & RESUBMIT, REJECTED, DRAFT, CONFIDENTIAL, VOID, RECEIVED and FOR REVIEW.
To use your own stamp (a company seal or reviewer block), click Upload under Custom stamps and choose a PNG or JPEG under 1.5 MB.
Edit a markup
Select a markup to open its settings in the panel on the right. Depending on the markup you can change:
- Colour and opacity
- Stroke — weight and type (Solid, Dashed, Dotted)
- Fill, or Background for text boxes
- Text size
- Stamp rotation
- Arrange — Send to back, Move backward, Move forward, Bring to front
Drag a selected markup to move it. Press Delete or Backspace to remove it. Copy and paste with Ctrl+C and Ctrl+V (⌘C and ⌘V on Mac), and use Ctrl+Z / Ctrl+Y to undo and redo.
Organise markups into groups
Every markup belongs to a group — think of groups as layers. Open the Markups panel from the icons on the right edge of the window to see them.
- New Group — add another group, such as one per reviewer or per trade.
- Show or hide a group — click the coloured dot beside its name.
- Expand a group — click the arrow to list its markups, then click one to select it on the drawing.
- Rename, lock or hide — click the group’s name to open its settings, where you can change the Name, Lock it against edits, or Hide it.
Share or print markups
To send a marked-up drawing to someone outside Framework, use the viewer’s ⋮ (Export) menu → Download with markups, or Download with both to include measurements too.