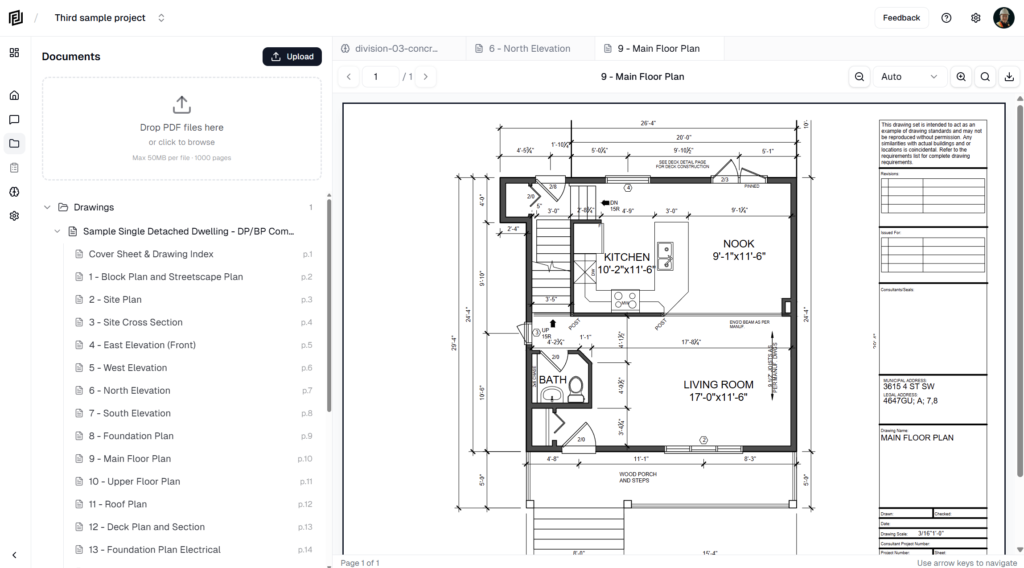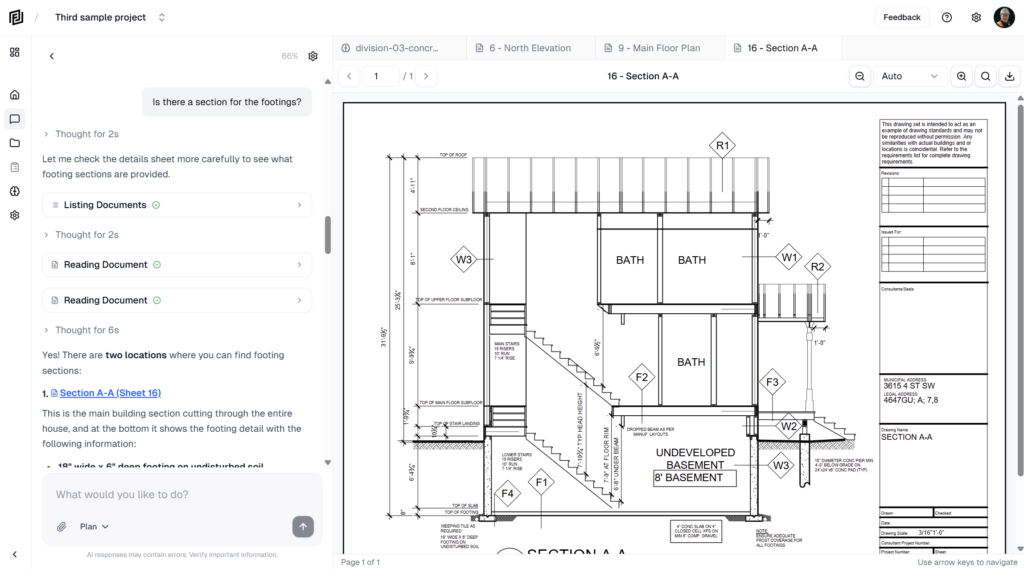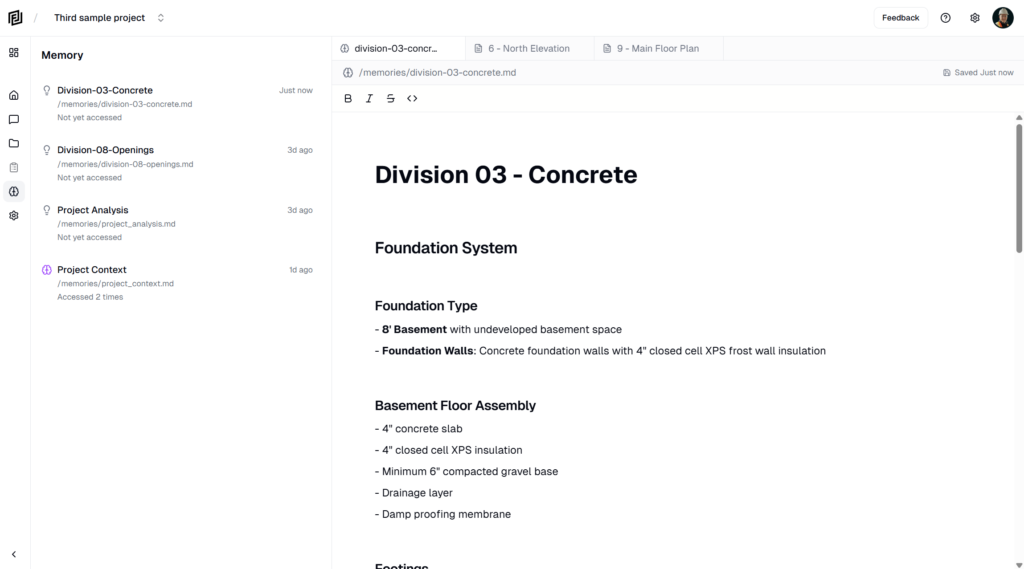
A takeoff is a named group of measurements — “Main floor walls”, “Roofing”, “Interior partitions” — taken on one or more drawings. Every measurement lands in the takeoff’s table with its value, unit and drawing, ready to price.
Start a takeoff
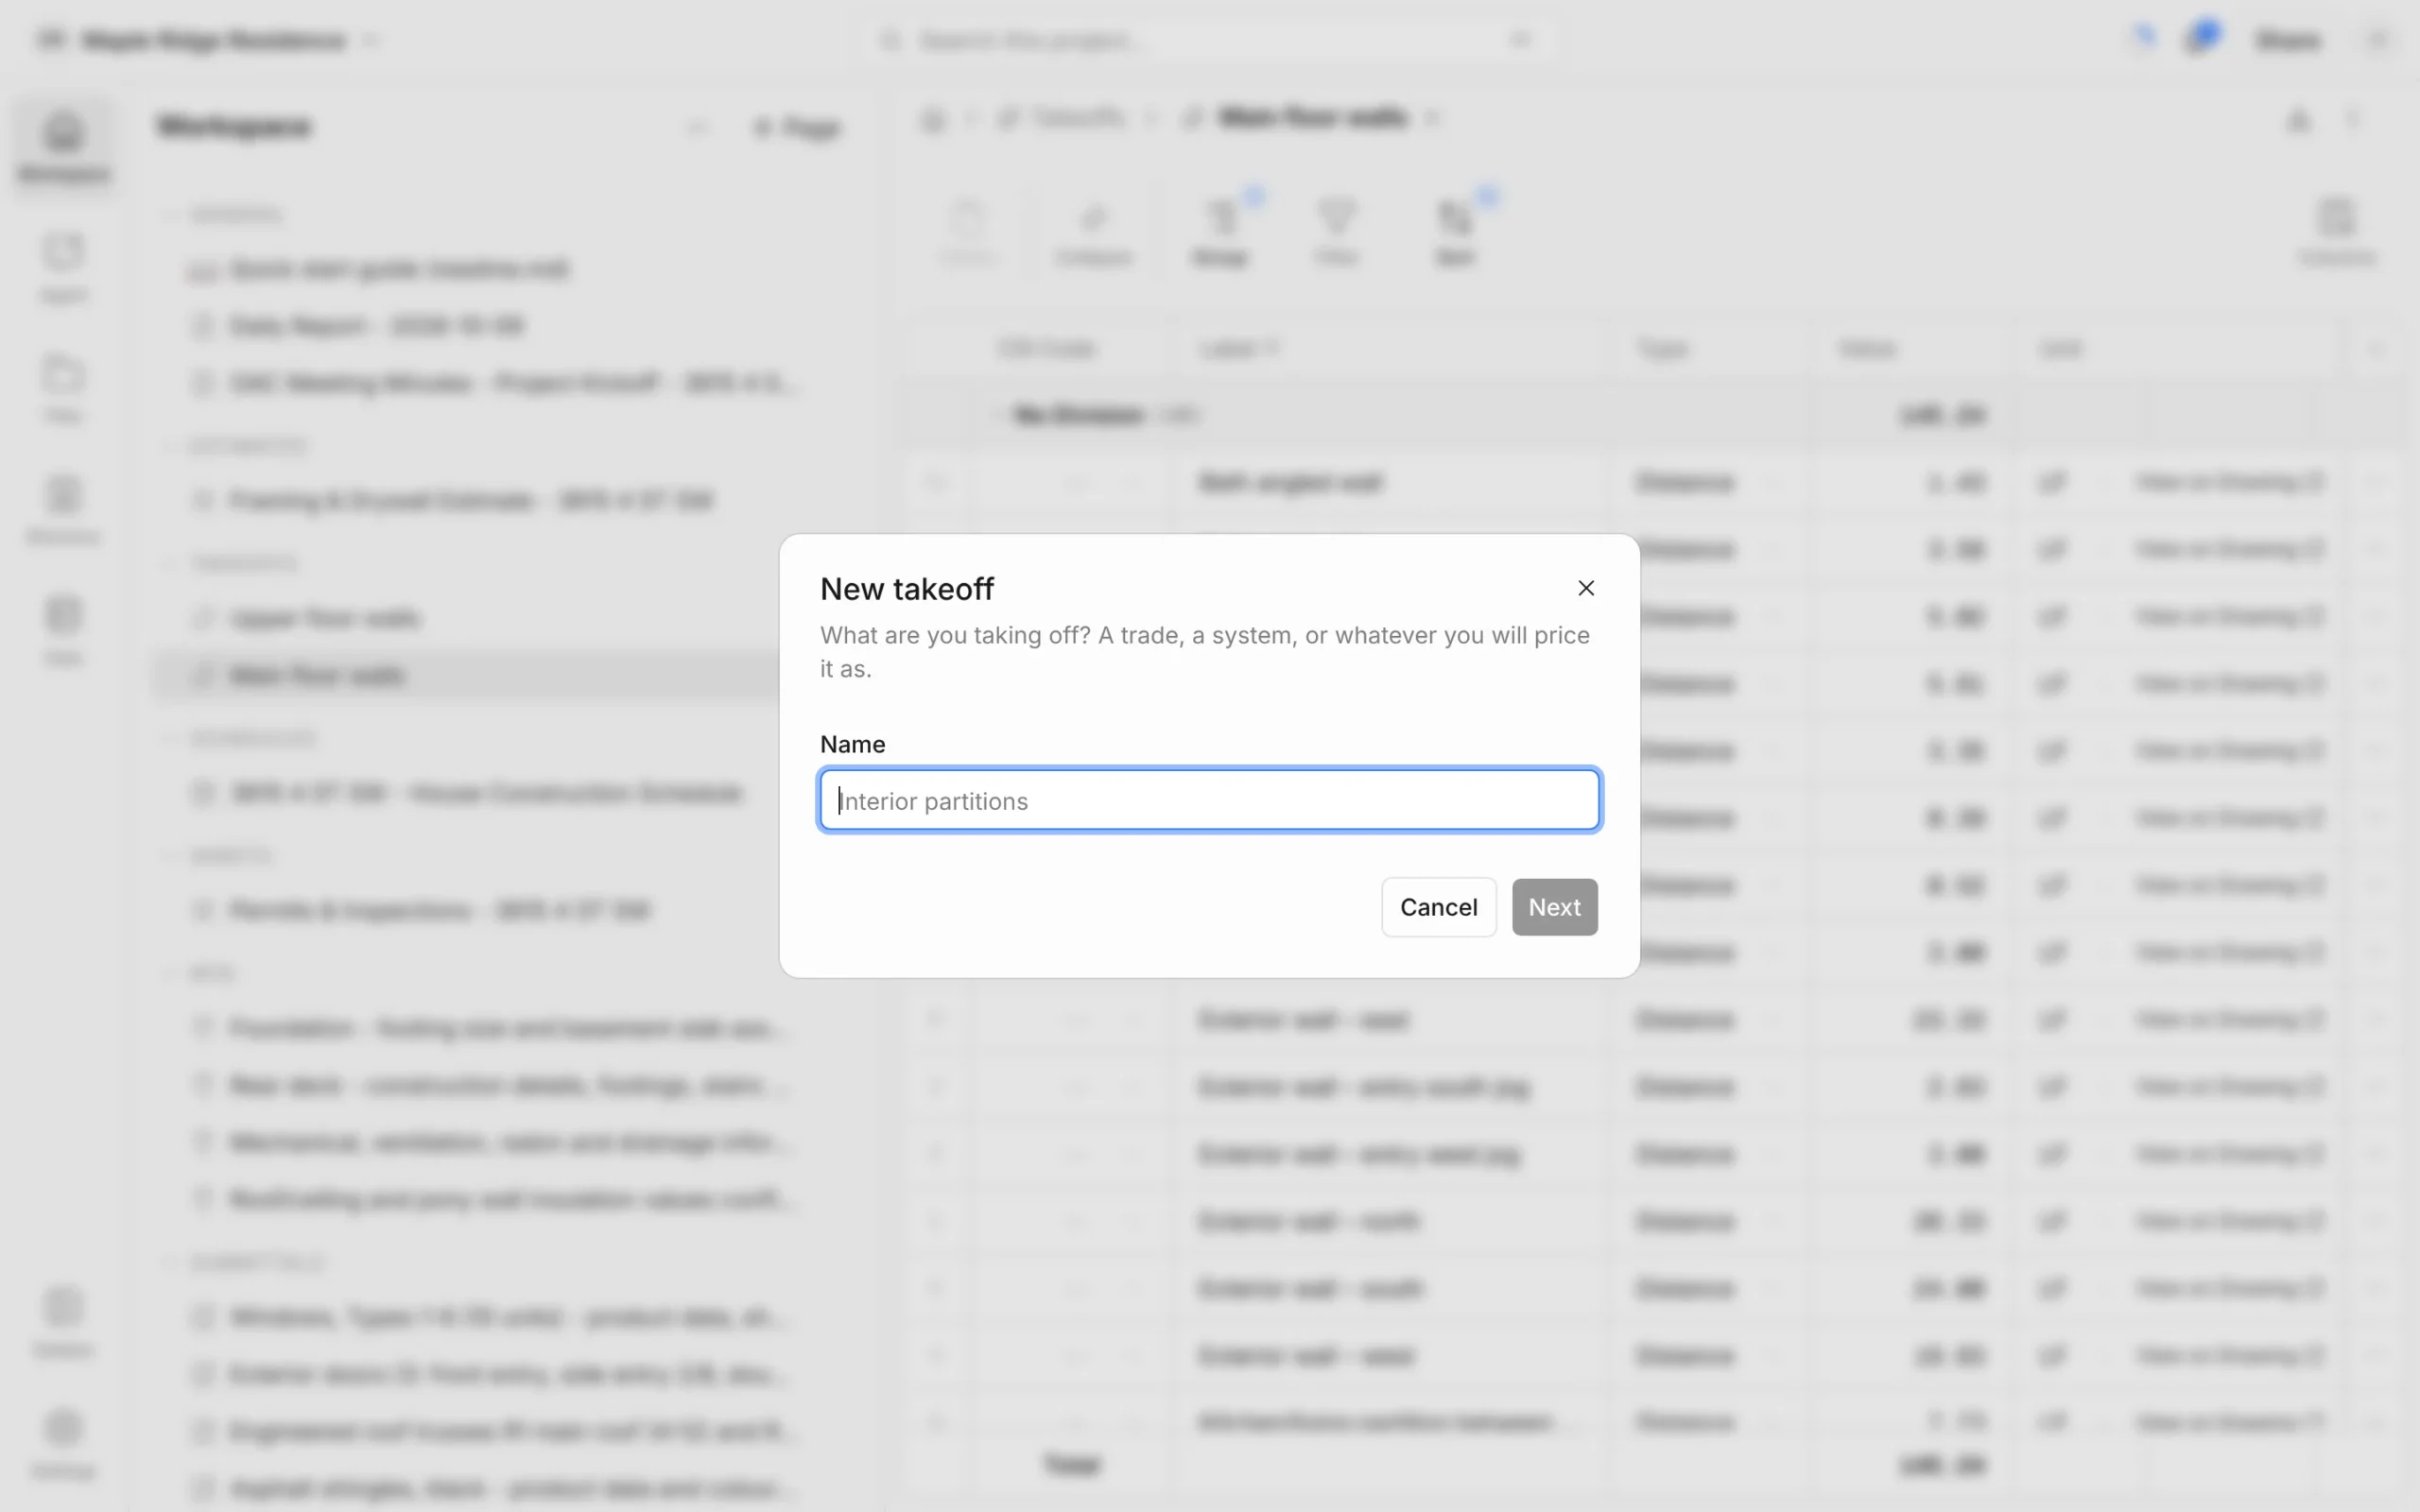
- Click Takeoffs in the Workspace panel to open the log, then New takeoff (or hover the Takeoffs heading and click +).
- Type a Name — the trade or system you’ll price it as — and click Next.
- Pick the drawing you’re starting on (type in Filter drawings… to find it) and click Create takeoff.
The drawing opens with the takeoff ready, so the next thing you do is measure. You can add measurements from any other drawing afterwards. Upload your drawings first — see Uploading Documents.
Check the scale
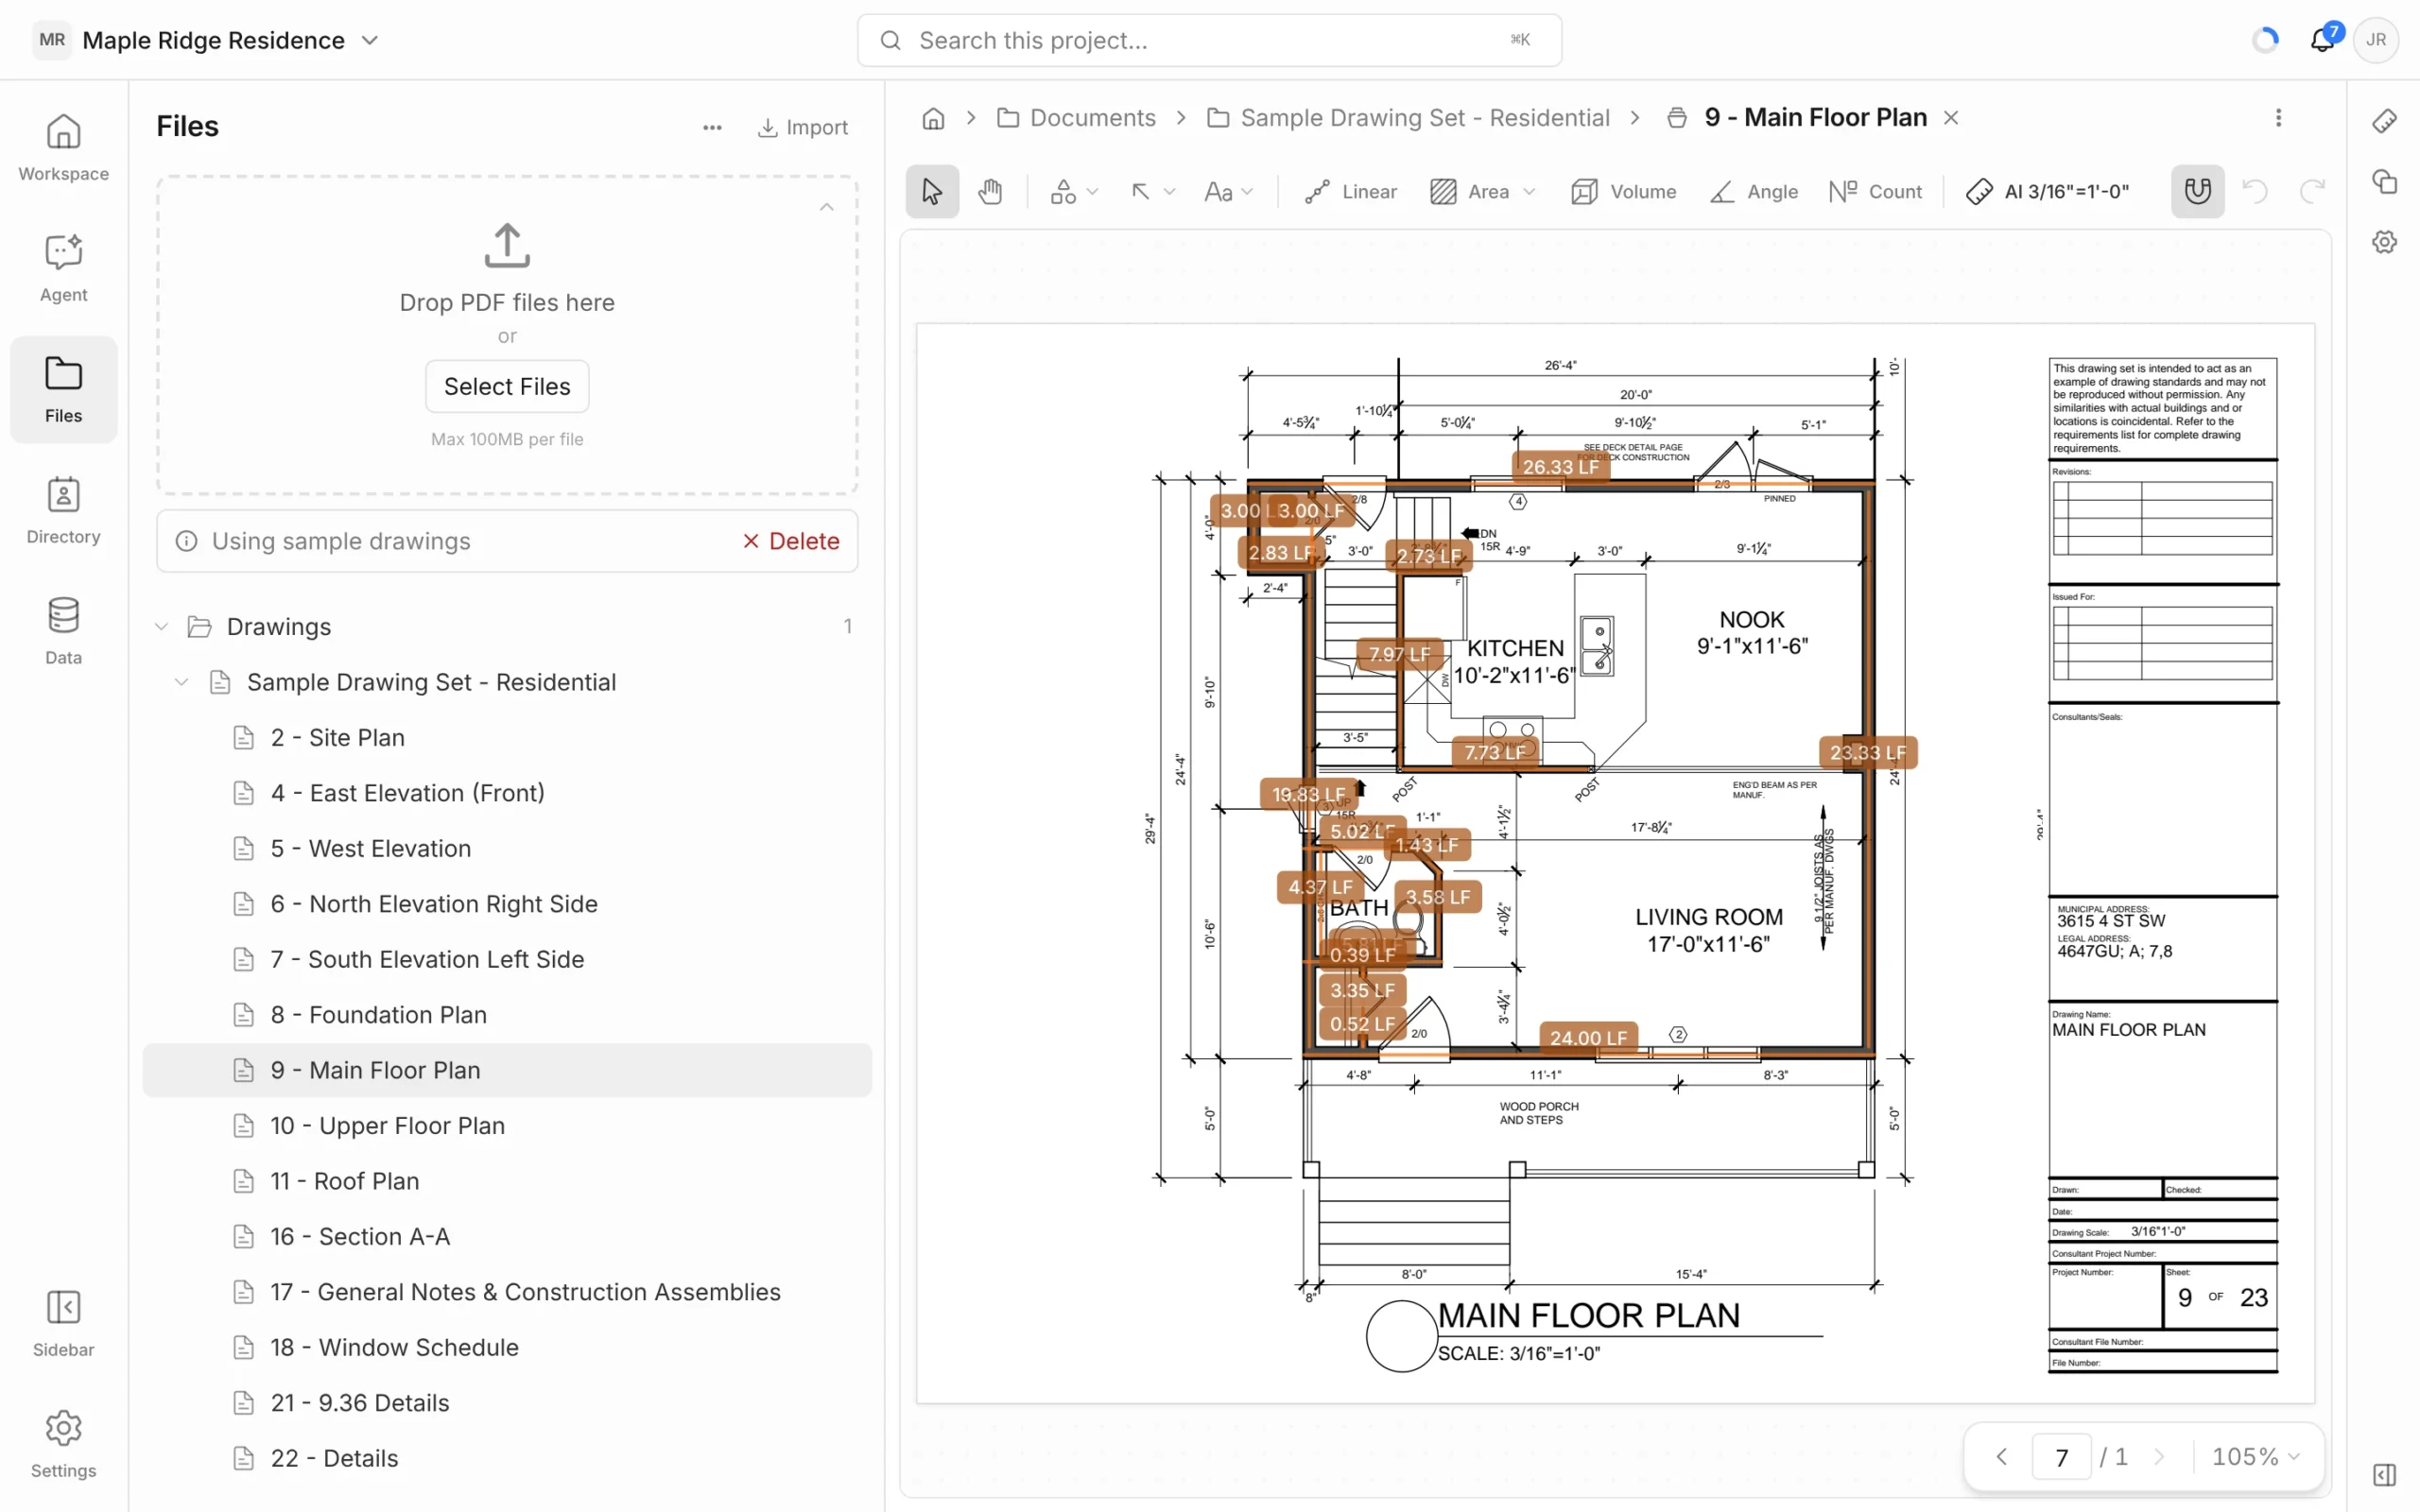
The scale button sits after the measure tools in the drawing toolbar. It reads:
- AI and a scale (e.g. AI 3/16″=1′-0″) — read from the title block and already in use.
- Scaled — a scale you’ve confirmed.
- No scale — set one before you measure.
Click it to open Set Drawing Scale. Use Detected to confirm the scale that was read, Enter Scale to type one (e.g. 1/4″ = 1′-0″ or 1:100), or Custom to click Draw Reference Line between two known points and enter the real distance. Scale is set per page — check it on each sheet, especially enlarged details.
Measure
Pick a tool from the toolbar:
- Linear — click point to point along a wall or run; double-click to finish. Drag for a single straight length. Click back on the first point to close the shape into a perimeter.
- Area — click around the outline; double-click to finish. Cutout (in the Area menu) removes openings or voids from an area.
- Volume — drawn like an area; set the depth in its properties and it reports the volume. Use it for slabs, fill or excavation.
- Angle — three clicks: along one arm, the corner, along the other. Angles don’t need a scale.
- Count — click each item (fixtures, doors, piles). Pick a symbol: circle, square, diamond, triangle, cross or pin.
Turn snapping on or off with the magnet button. Undo with ⌘Z (Ctrl+Z on Windows).
Label and code each measurement
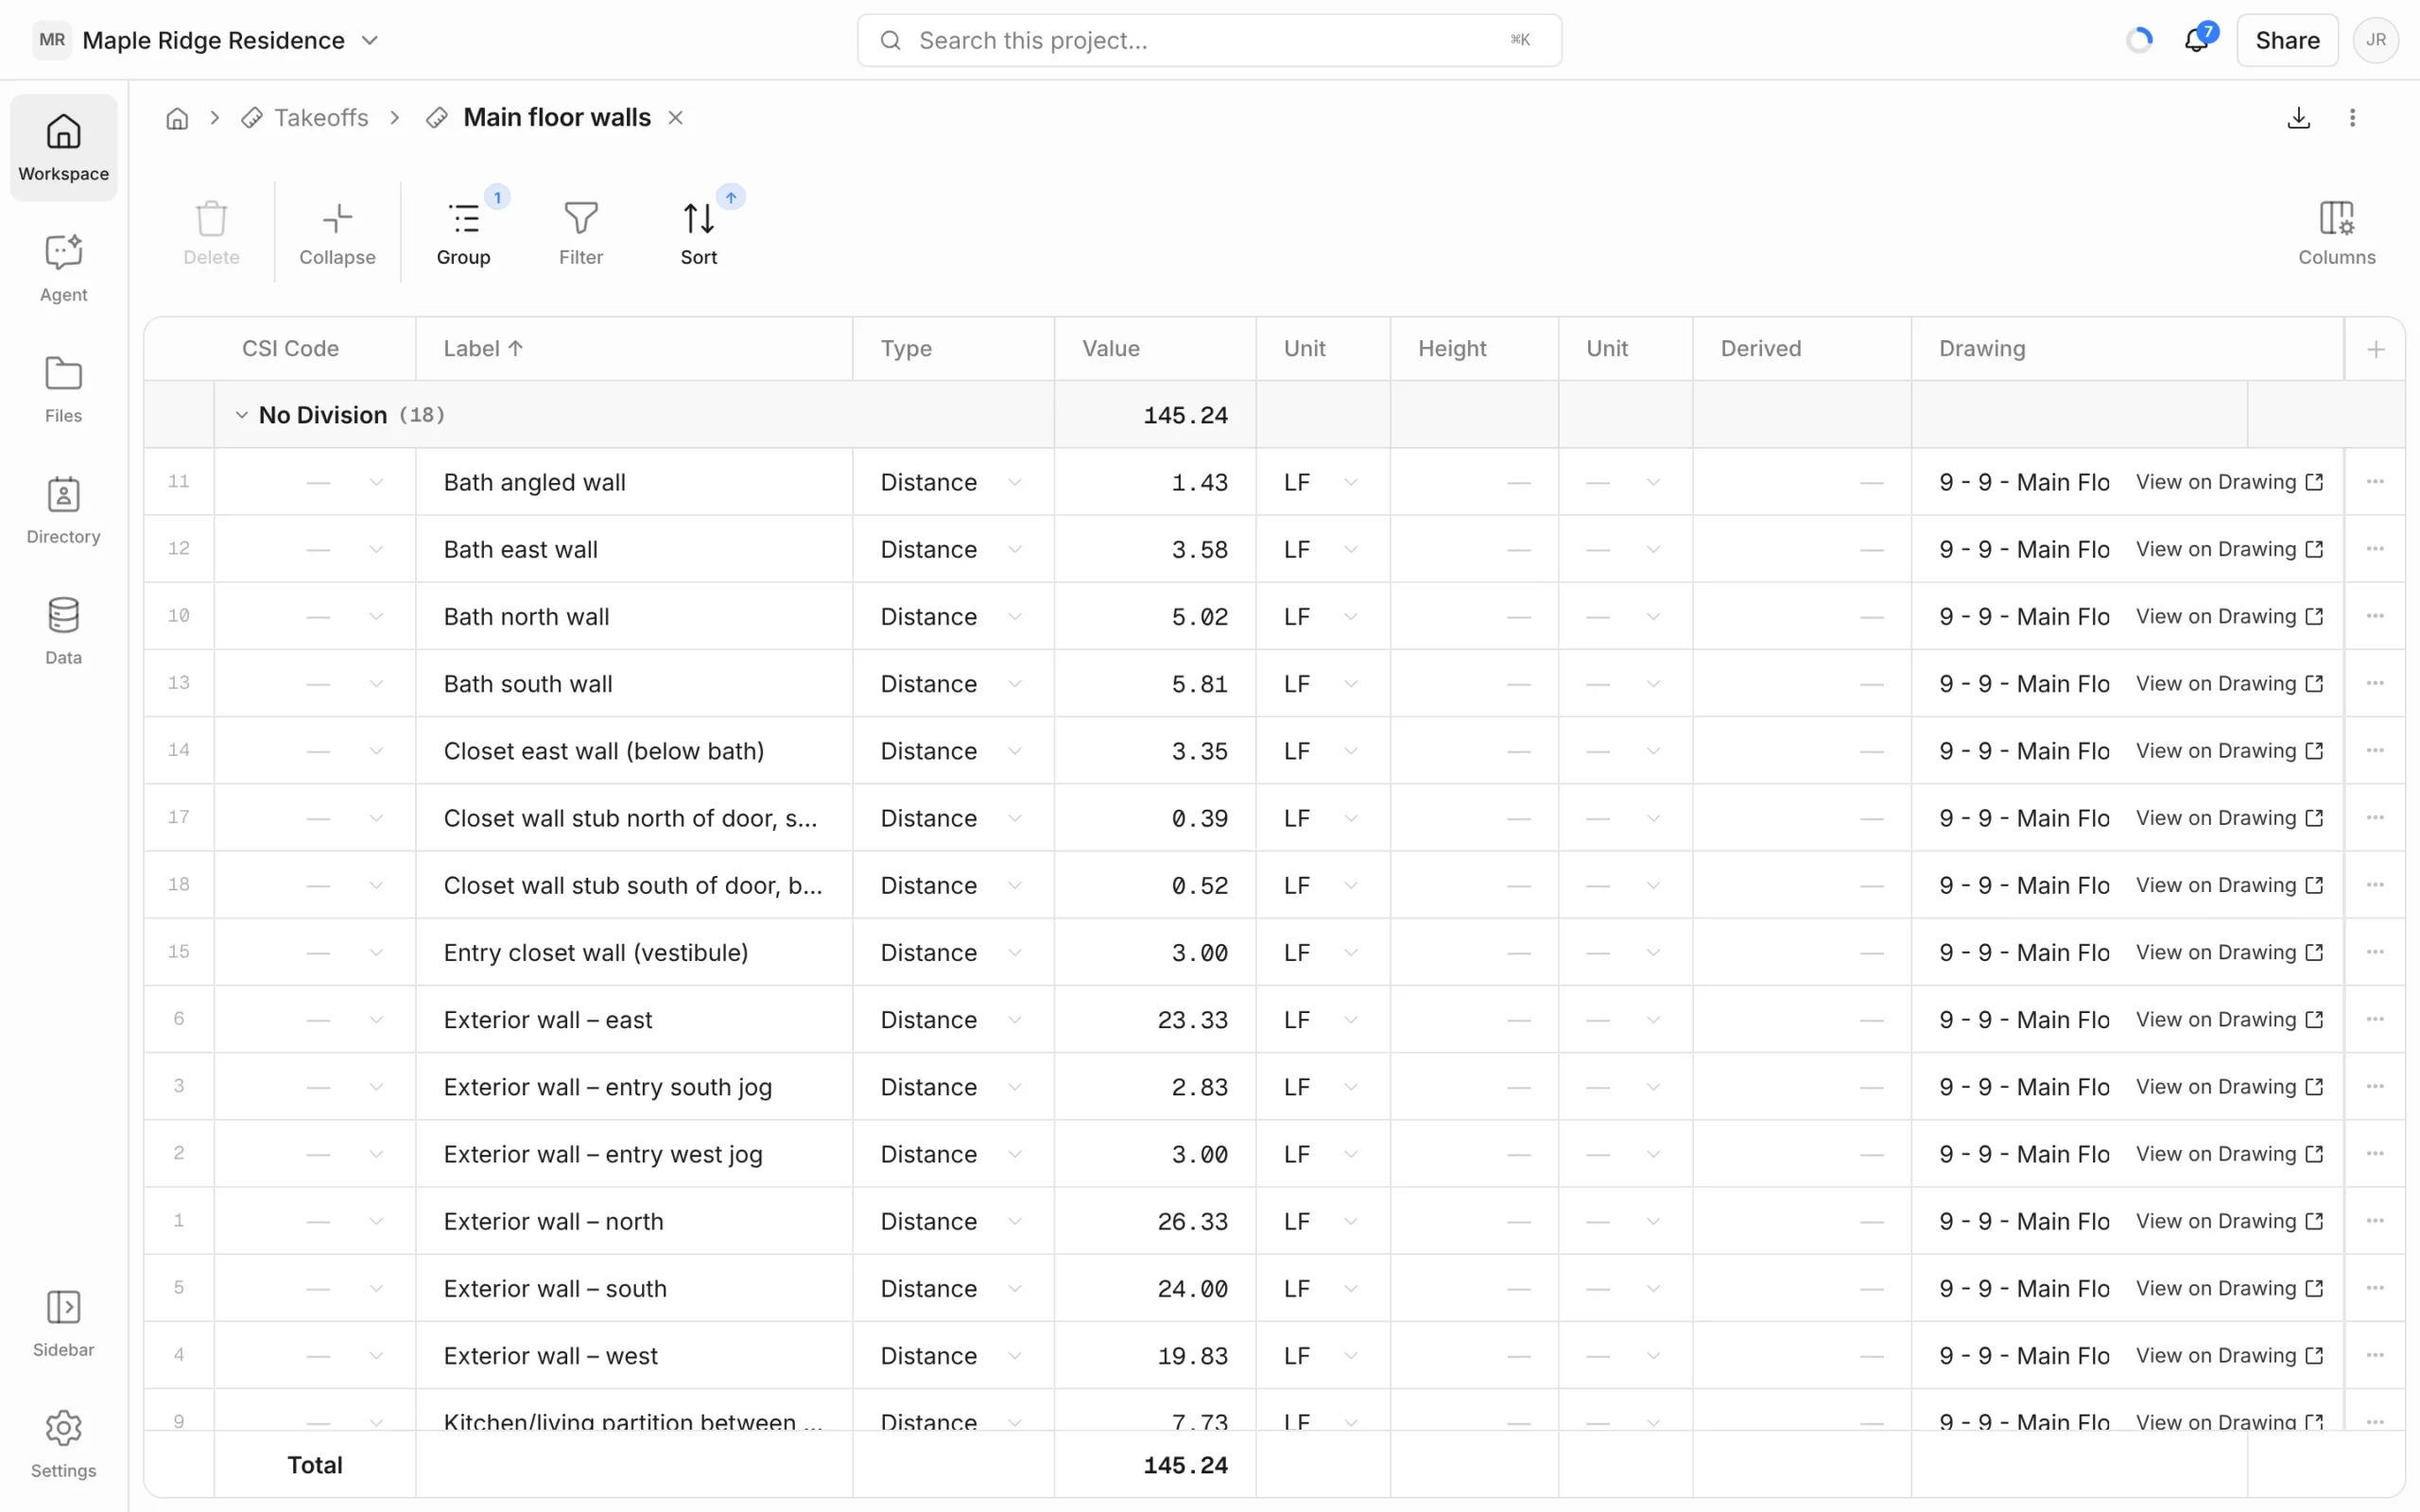
Click a measurement to see its properties: give it a Label (e.g. “Exterior wall – north”), change the display unit, and pick a Cost code — search MasterFormat or type your own. Cost codes carry through when you bring measurements into an estimate.
The ruler icon on the right edge of the viewer lists the measurements, grouped by takeoff or by drawing, on This Drawing or All Drawings. Hide a group to declutter the sheet, or click a measurement to jump to it.
The takeoff table
Open the takeoff from the Workspace panel to see every measurement in a table: CSI Code, Label, Type, Value, Unit, Drawing and a View on Drawing link. Enter a Height on a linear or area measurement and Derived gives you the result — wall length × height for wall area, for example. Group, filter, sort and export it like any sheet.
Let the agent take off
The agent can measure for you on vector PDF drawings — the kind exported from CAD, not scans. Try “Take off the interior partitions on the main floor plan” or “Count the windows on the elevations”. Its measurements go into a takeoff you can check on the drawing and adjust.