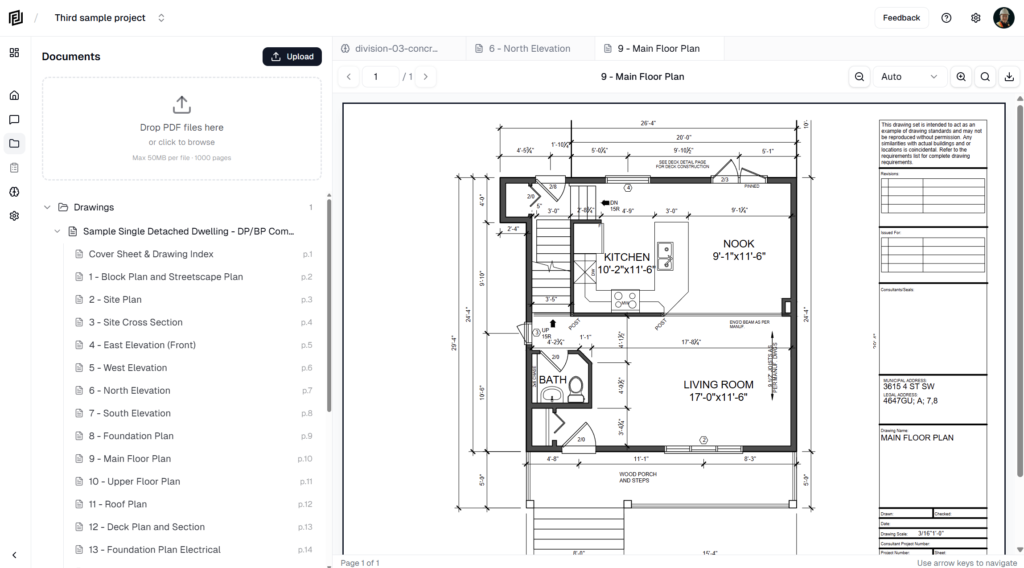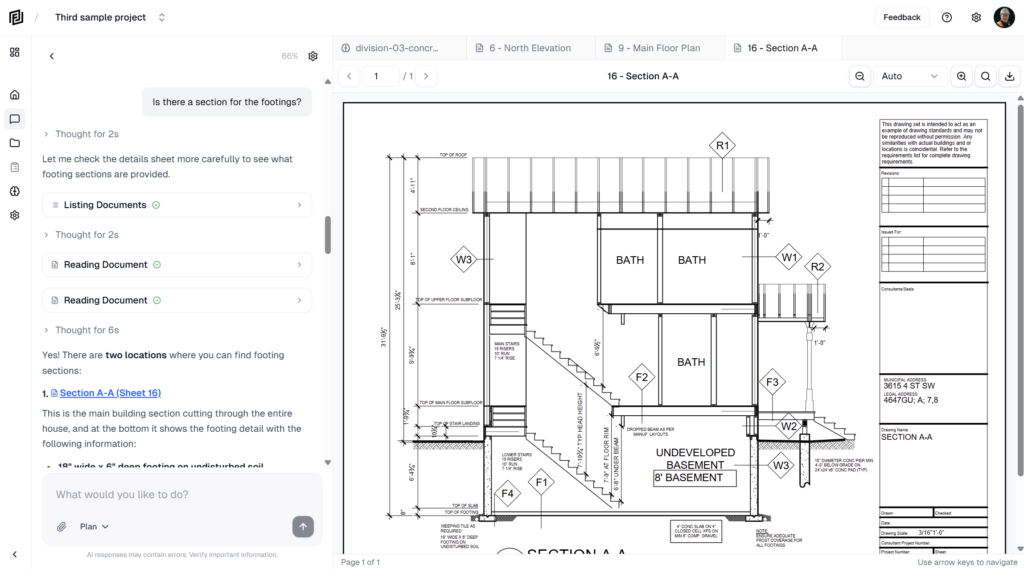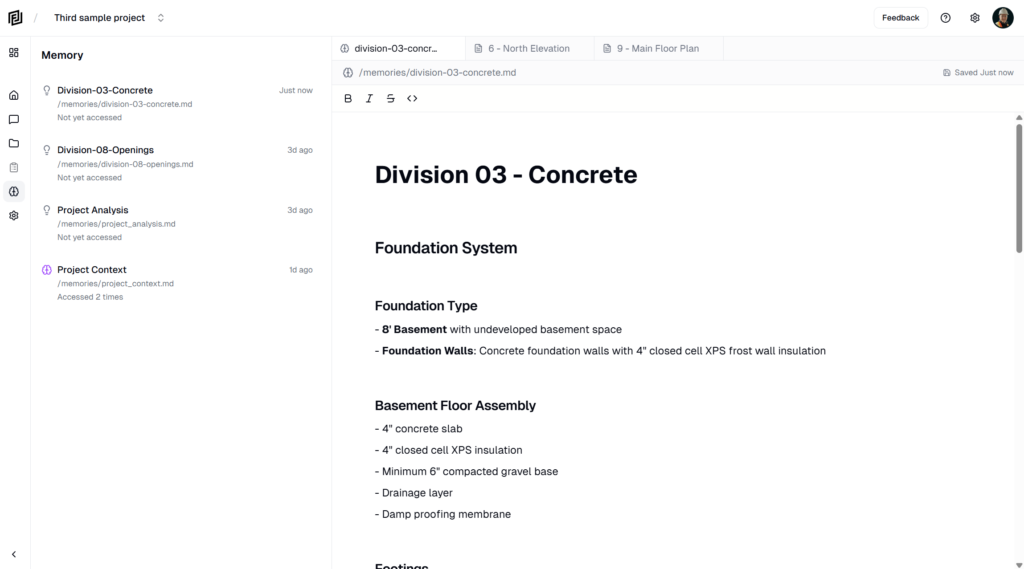
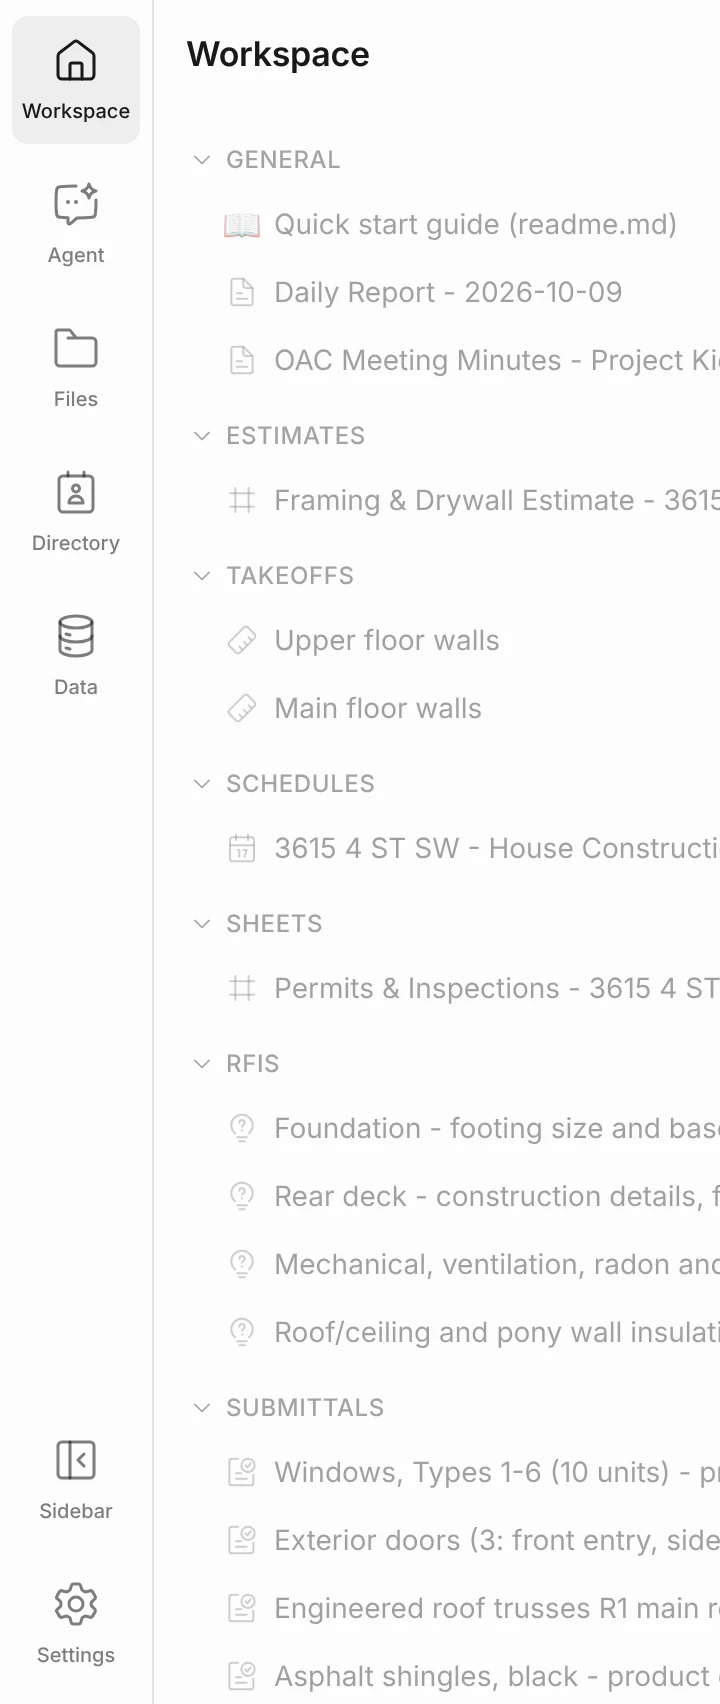
The Workspace panel is where everything you and the agent make in a project lives — notes, estimates, takeoffs, schedules, sheets, RFIs and submittals. Click Workspace at the top of the left rail to open it. On a phone, tap Workspace in the bottom tab bar.
Choose a layout
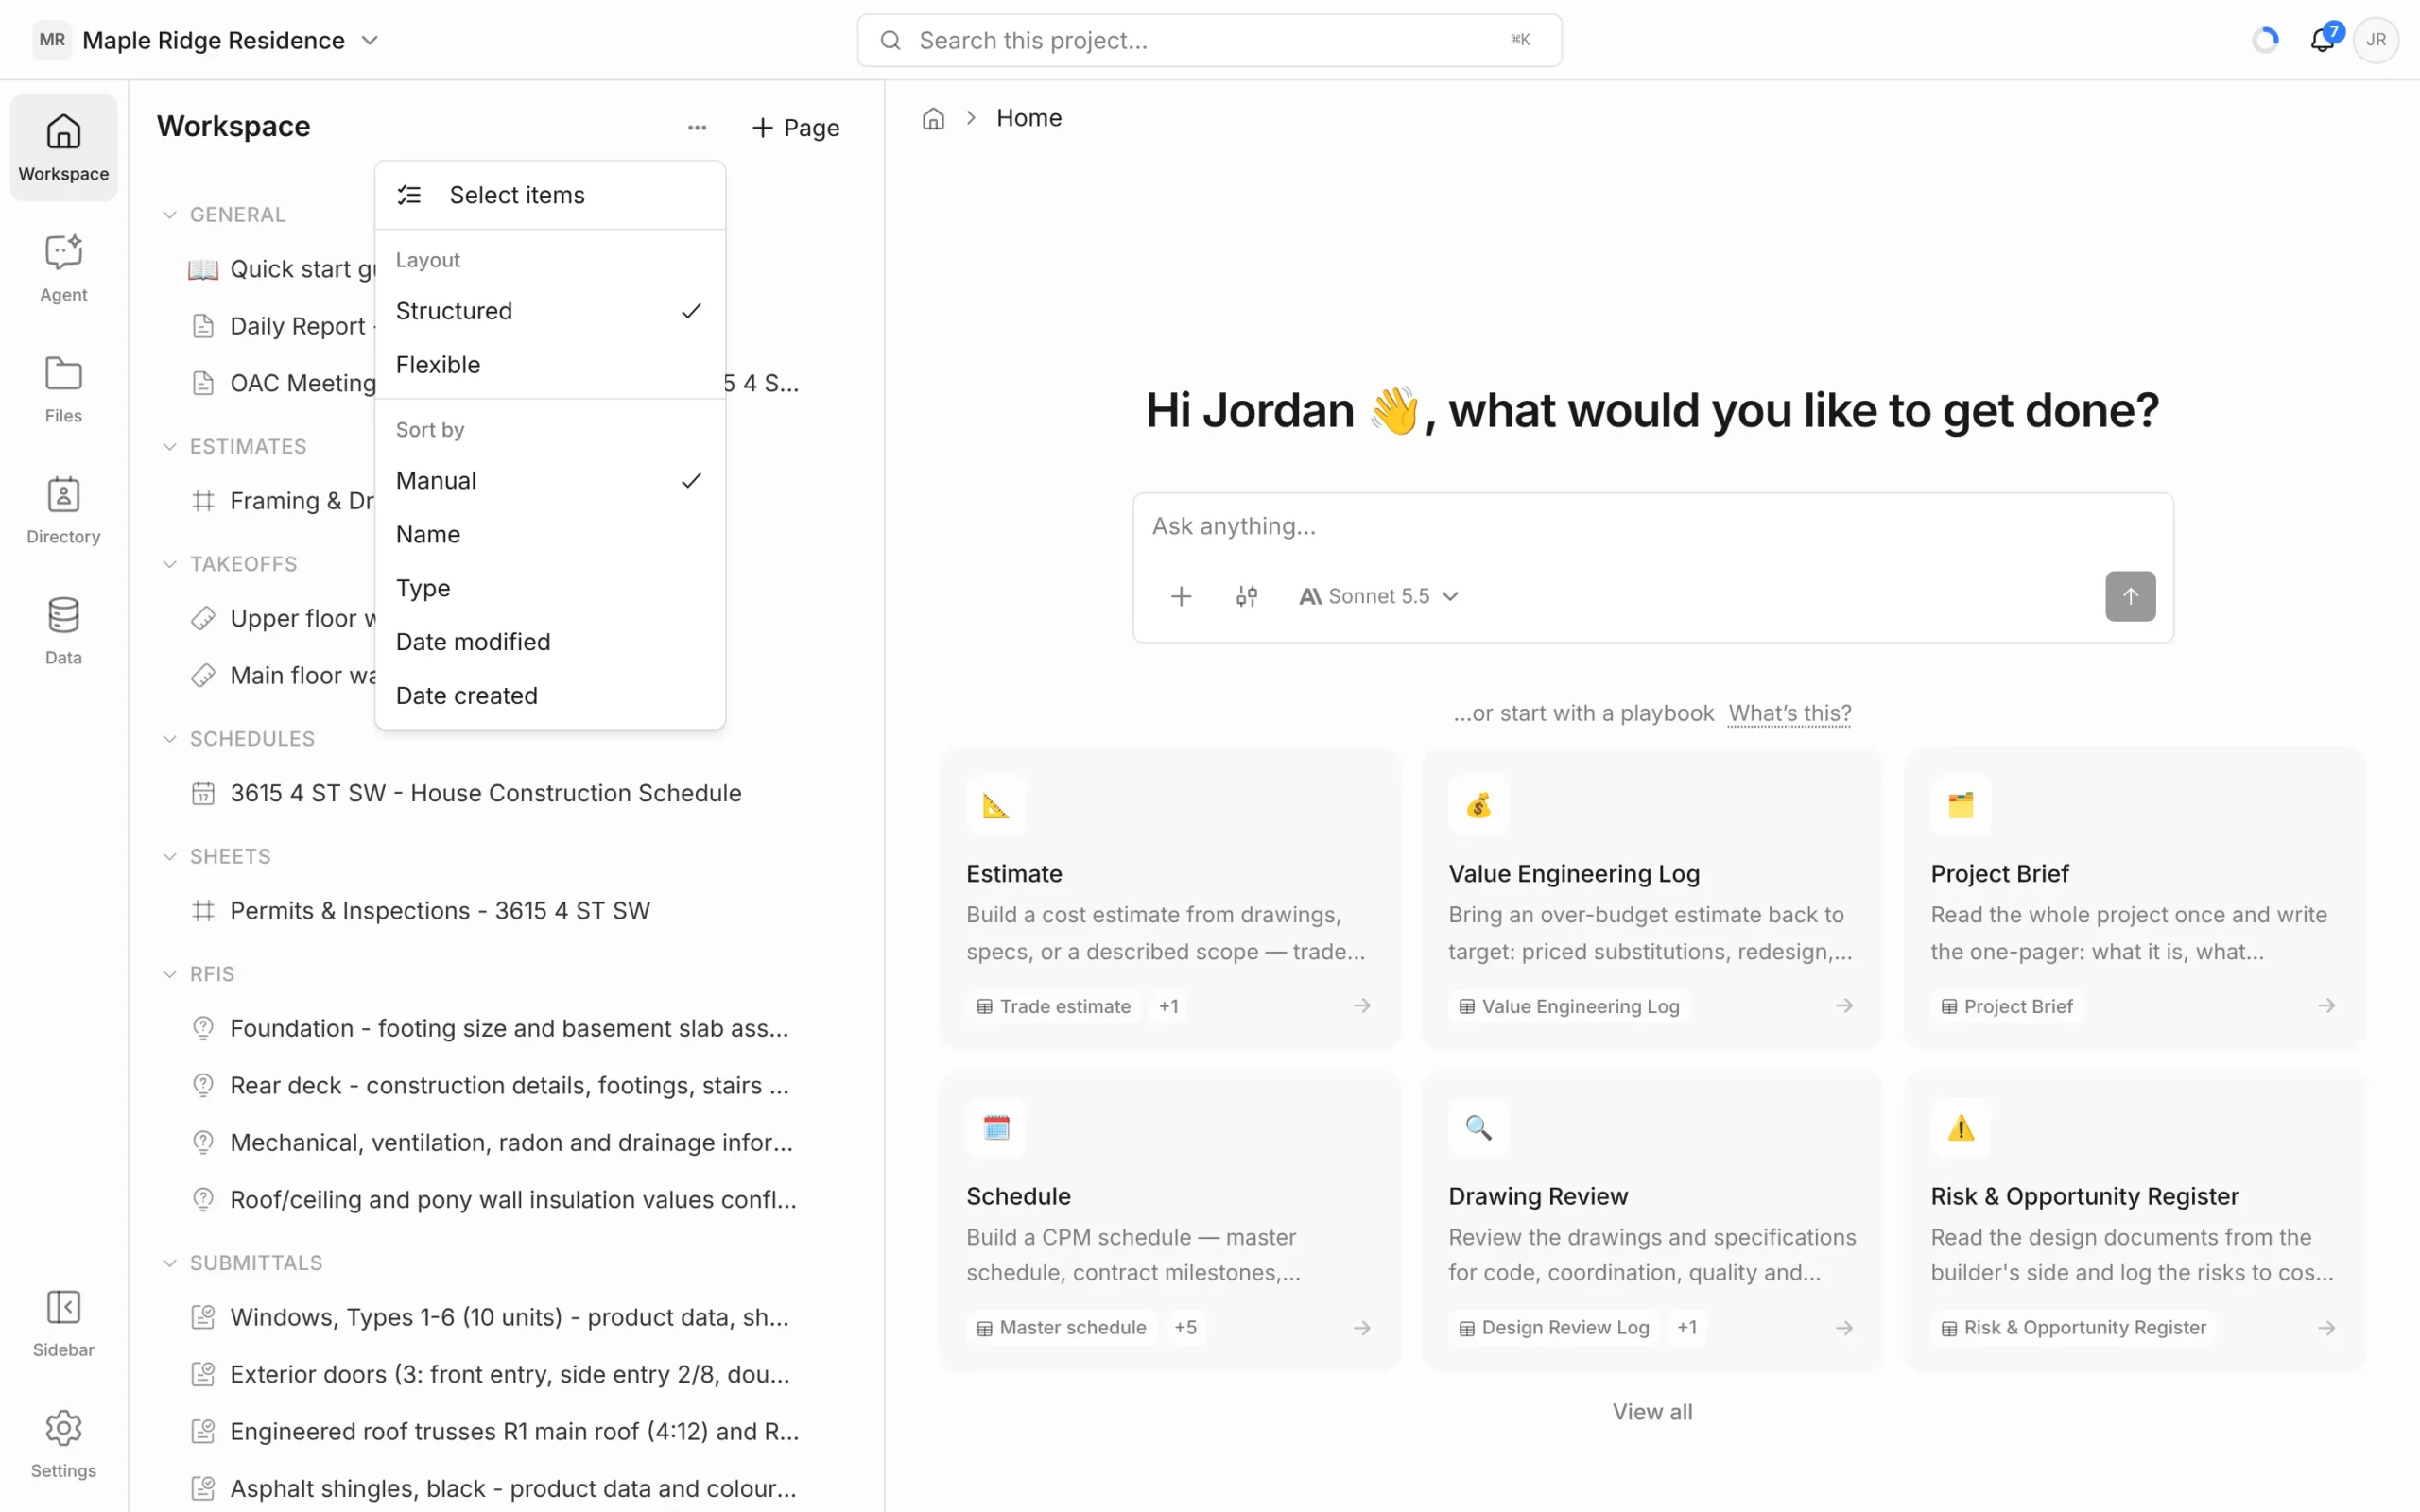
Click … at the top of the panel and pick a Layout:
- Structured (the default) — every item sits under the heading for its type: General (notes), Estimates, Takeoffs, Schedules, Sheets, RFIs and Submittals. Empty headings still show, so you always have somewhere to make the first one.
- Flexible — a free tree you arrange yourself. Drag items into the order you want and group them into collections (folders).
The layout you pick is remembered for each project in your browser. It doesn’t change what anyone else sees.
Create something
- + Page at the top of the panel opens the template picker — start from Empty note, Empty sheet, Empty schedule or a template. See Templates.
- In the Structured layout, hover a heading and click + to create that kind of item — the same as the New button on its log. The + on General opens the template picker.
- Or ask the agent: “Write today’s daily report” or “Build an estimate for the framing”.
Open a log
Each heading in the Structured layout has a log behind it — a table of every item of that type with search, filters and columns. Click the heading name, or hover it and click the table icon (Open log). See Logs & List Views.
Sort items
Click … and choose under Sort by: Manual, Name, Type, Date modified or Date created.
Organise with collections
Collections are available in the Flexible layout.
- Click … → New collection, type a name and press Enter.
- Drag items into the collection, or use the item’s ⋮ menu → Move to and pick a collection (or Workspace root to take it out).
- Hover a collection and click + to create a new item straight inside it.
A collection’s ⋮ menu has Rename and Delete. Deleting a collection doesn’t delete what’s in it — the items move back to the top level. Collections can’t be nested inside other collections.
Item menu
Hover any item and click ⋮:
- Open — opens it in the main area.
- Add icon / Change icon — give it an icon so it’s easier to spot.
- Move to — file it in a collection (shown when the project has collections).
- Delete — permanently deletes it. This can’t be undone.
Delete several items at once
- Click … → Select items.
- Tick the items you want.
- Click Delete in the bar at the top of the panel and confirm.
Click … → Exit selection when you’re done.