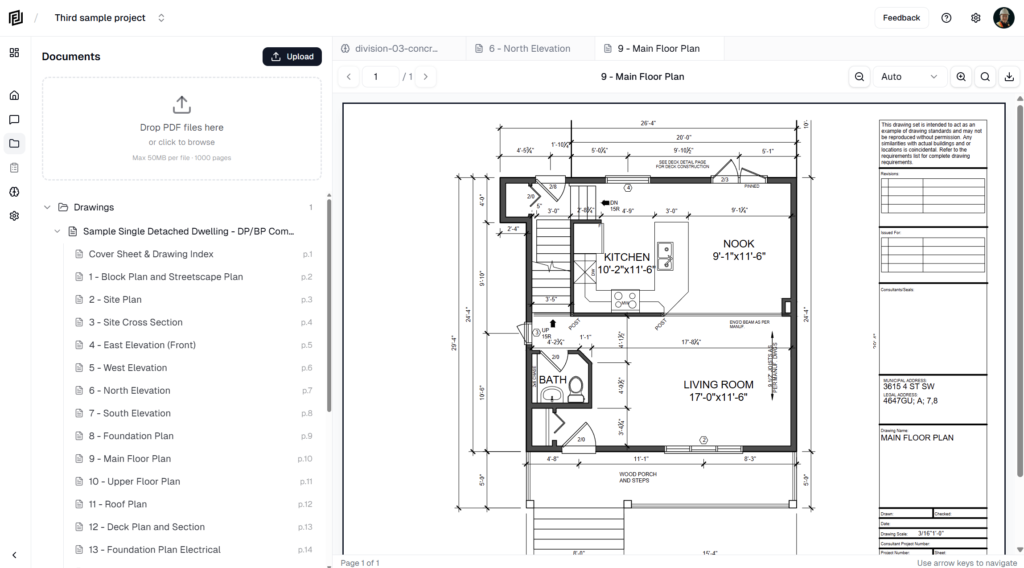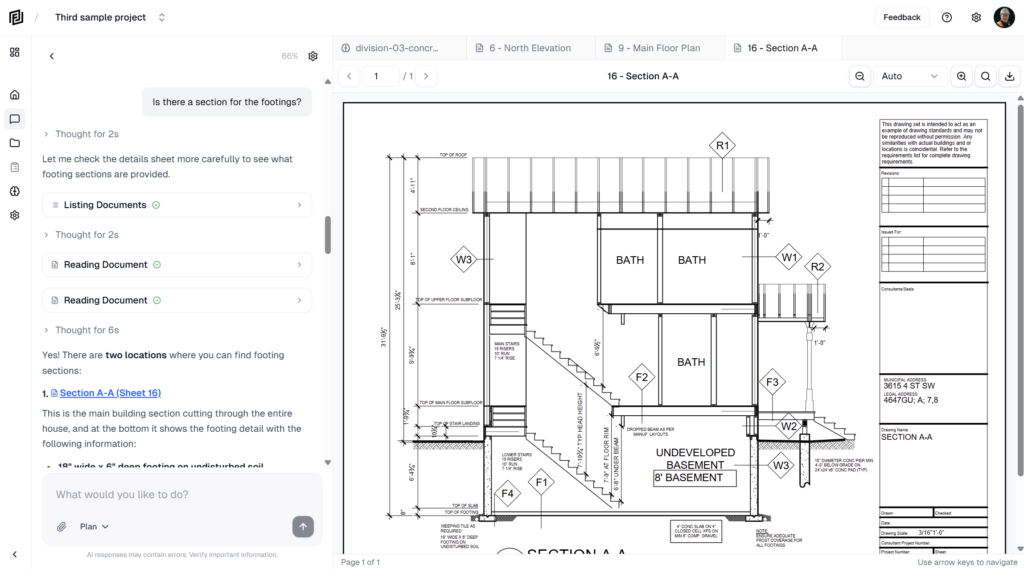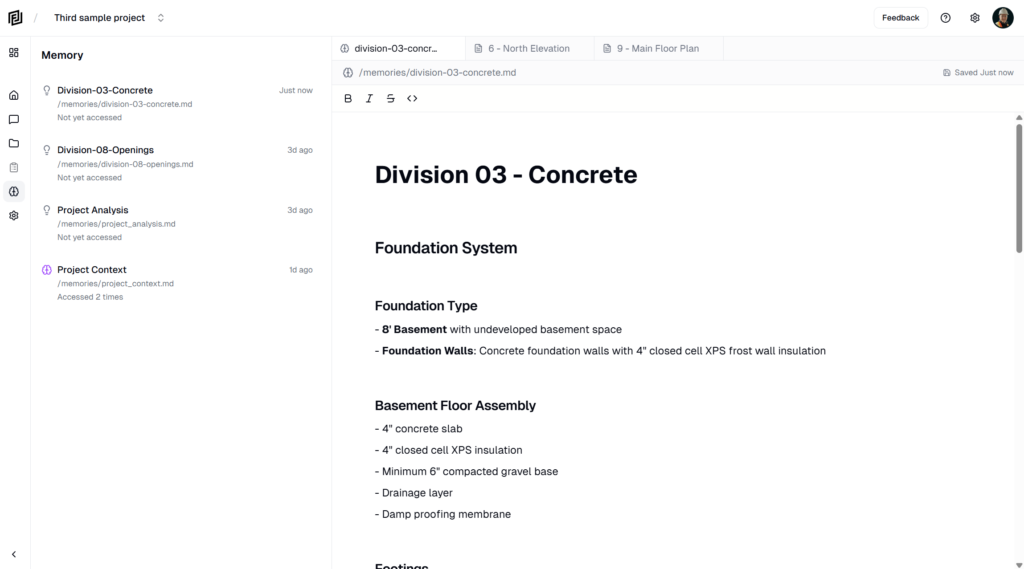
Once you’ve measured, you don’t retype quantities. Import measurements into an estimate and each one becomes a line linked to its measurement — label, quantity, unit and cost code come across, and the quantity stays in step if the measurement changes.
Import measurements
- Open the estimate.
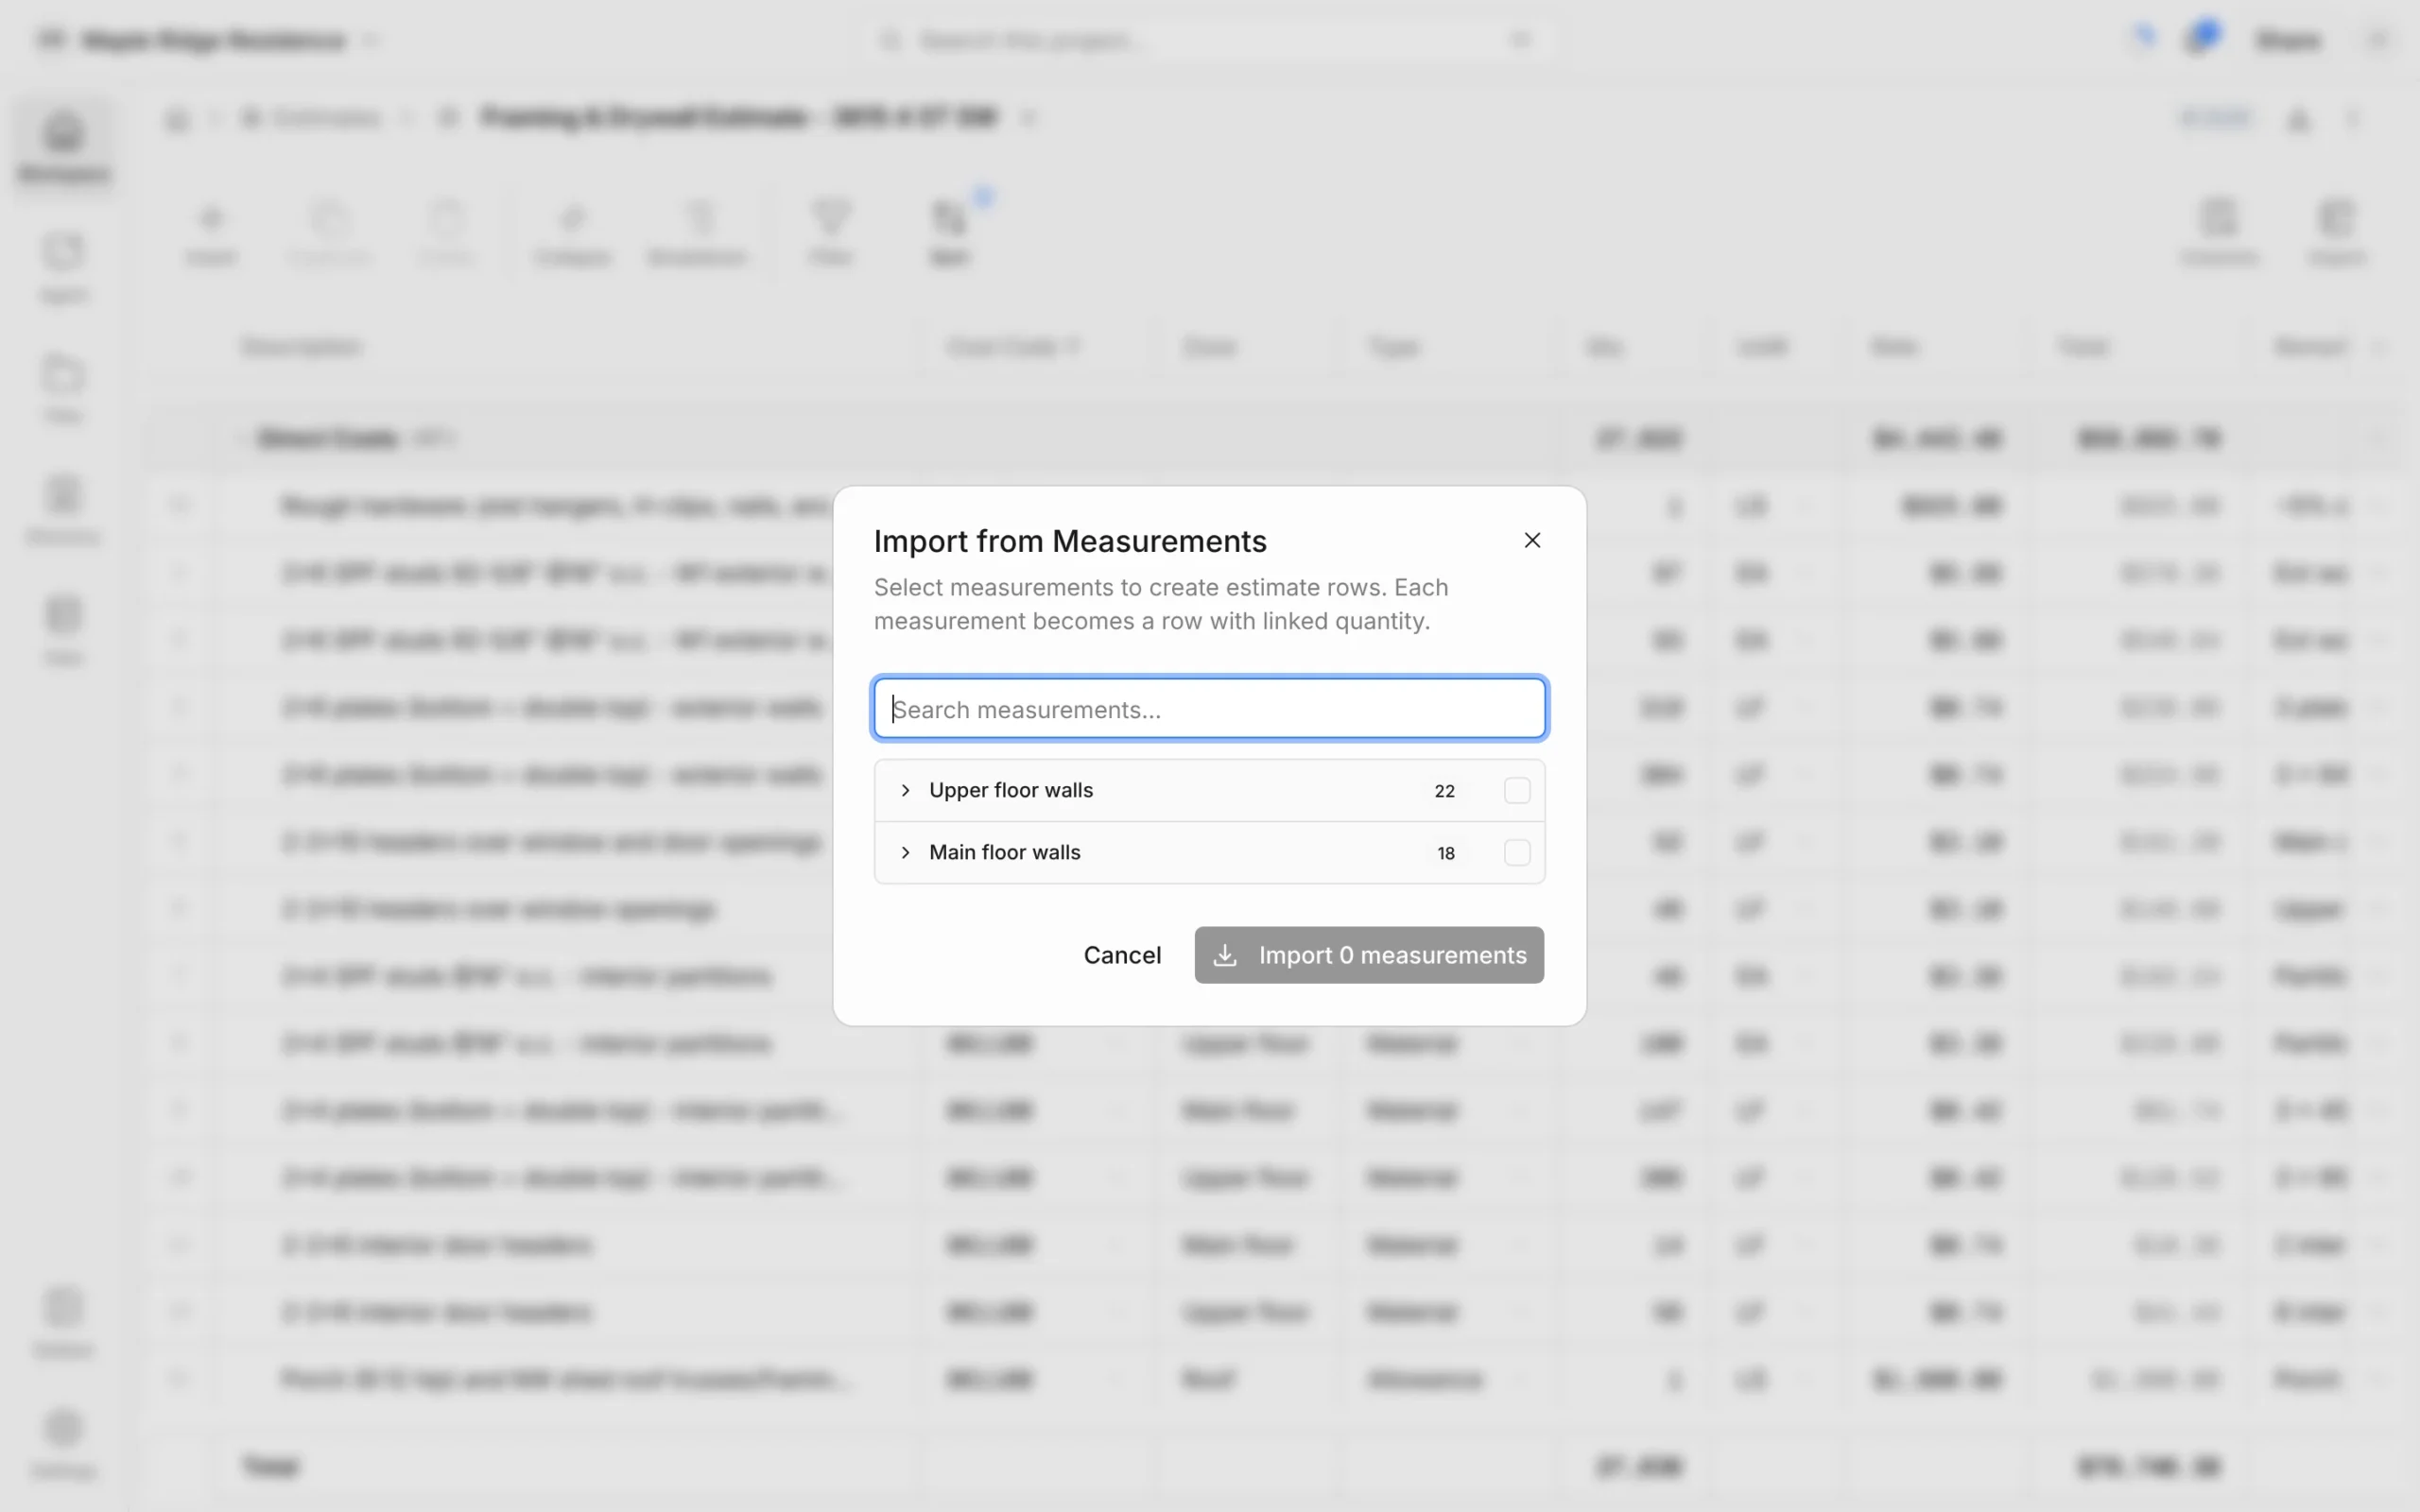
- Click Import at the right of the toolbar. The Import from Measurements dialog lists your takeoffs with how many measurements each holds.
- Tick a whole takeoff, or click the arrow beside it and tick individual measurements. Use Search measurements… to find specific ones.
- Click Import (the button shows how many you’ve picked).
Each measurement becomes one line:
- Description ← the measurement’s label
- Qty and UoM ← its value and unit
- Cost Code ← its cost code, if it has one
Fill in Rate and Type to price the line. Measurements already linked to a line in this estimate are shown ticked and greyed out, so you can’t bring the same one in twice.
How linked lines behave
- A linked line shows a link icon beside its description.
- Its description, quantity and unit come from the measurement. Change the measurement on the drawing and the line updates.
- Cost Code stays editable. Changing it on the line updates the measurement too, so the takeoff and estimate agree.
- Click the linked description, quantity or unit to open Link to Measurement, where you can point the line at a different measurement or click Unlink row to turn it back into an ordinary line you can type into.
Link a line you already have
- Click into an empty Description cell.
- Type /. The measurement picker opens.
- Search for and pick the measurement.
Tips
- Label measurements clearly before importing (“Exterior wall – north” rather than “Linear 4”) — the label becomes the line description.
- Set cost codes on measurements while you take off, and lines land with their code. Breakdown → Division then totals them by division.